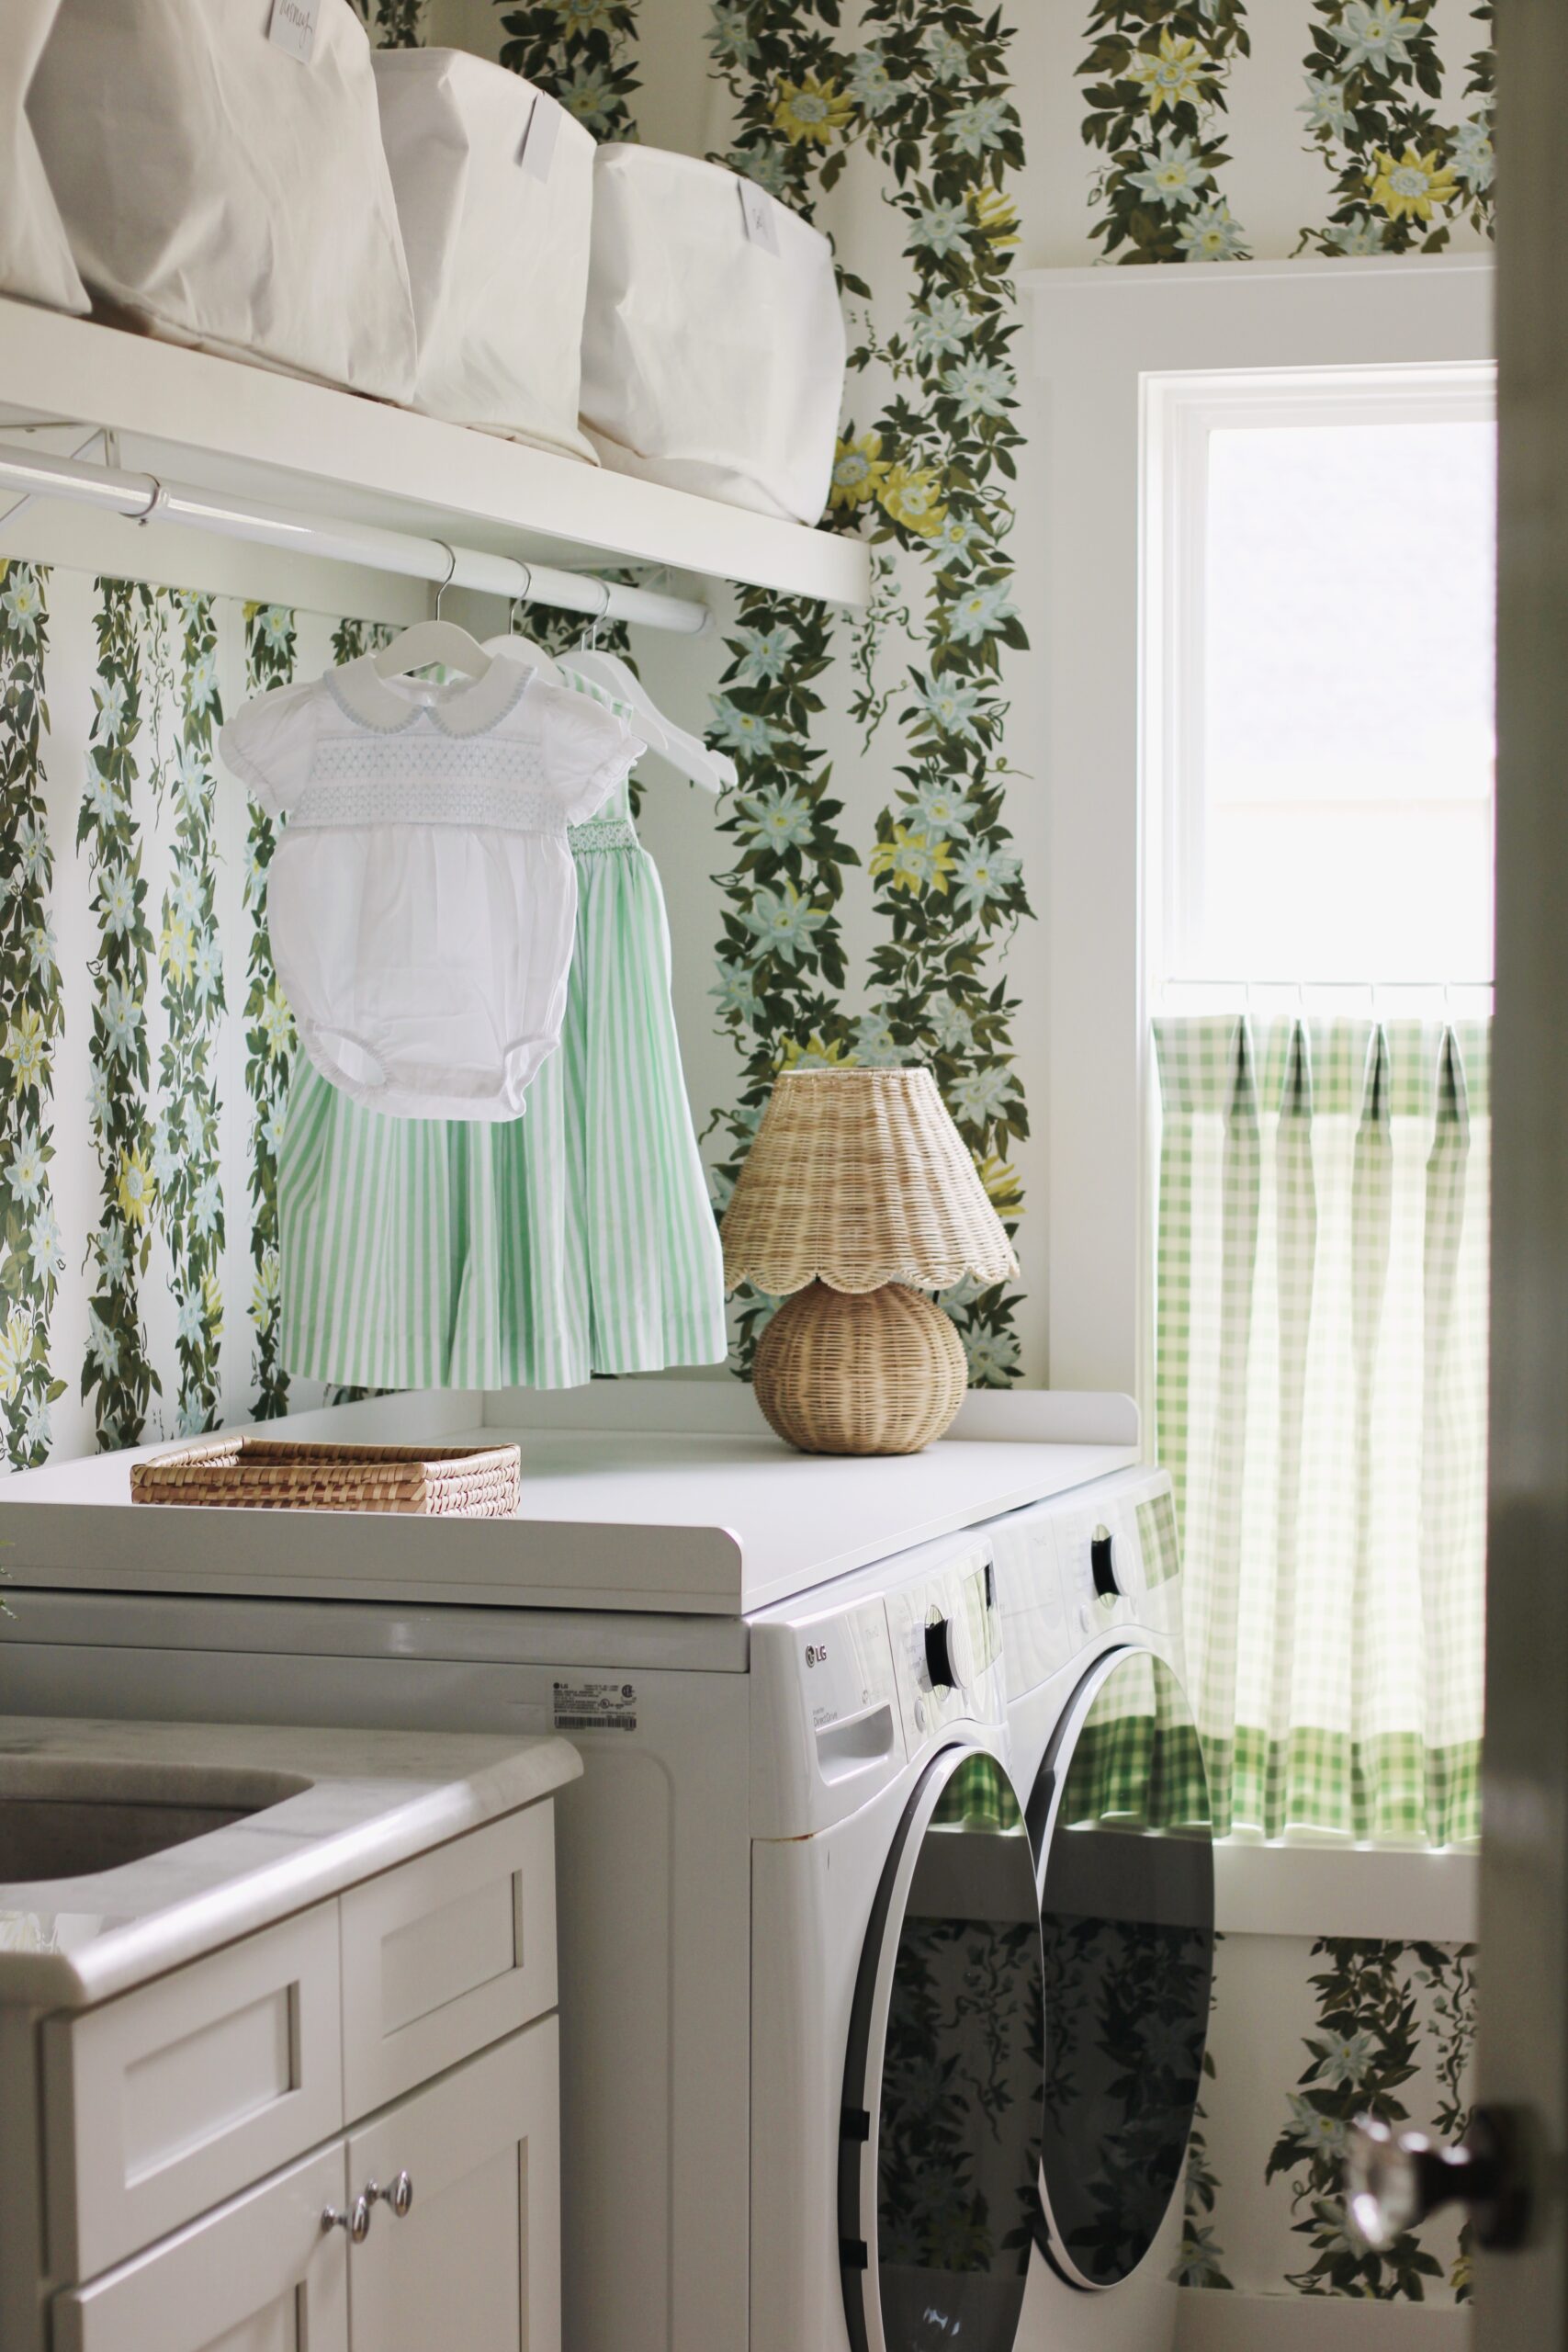
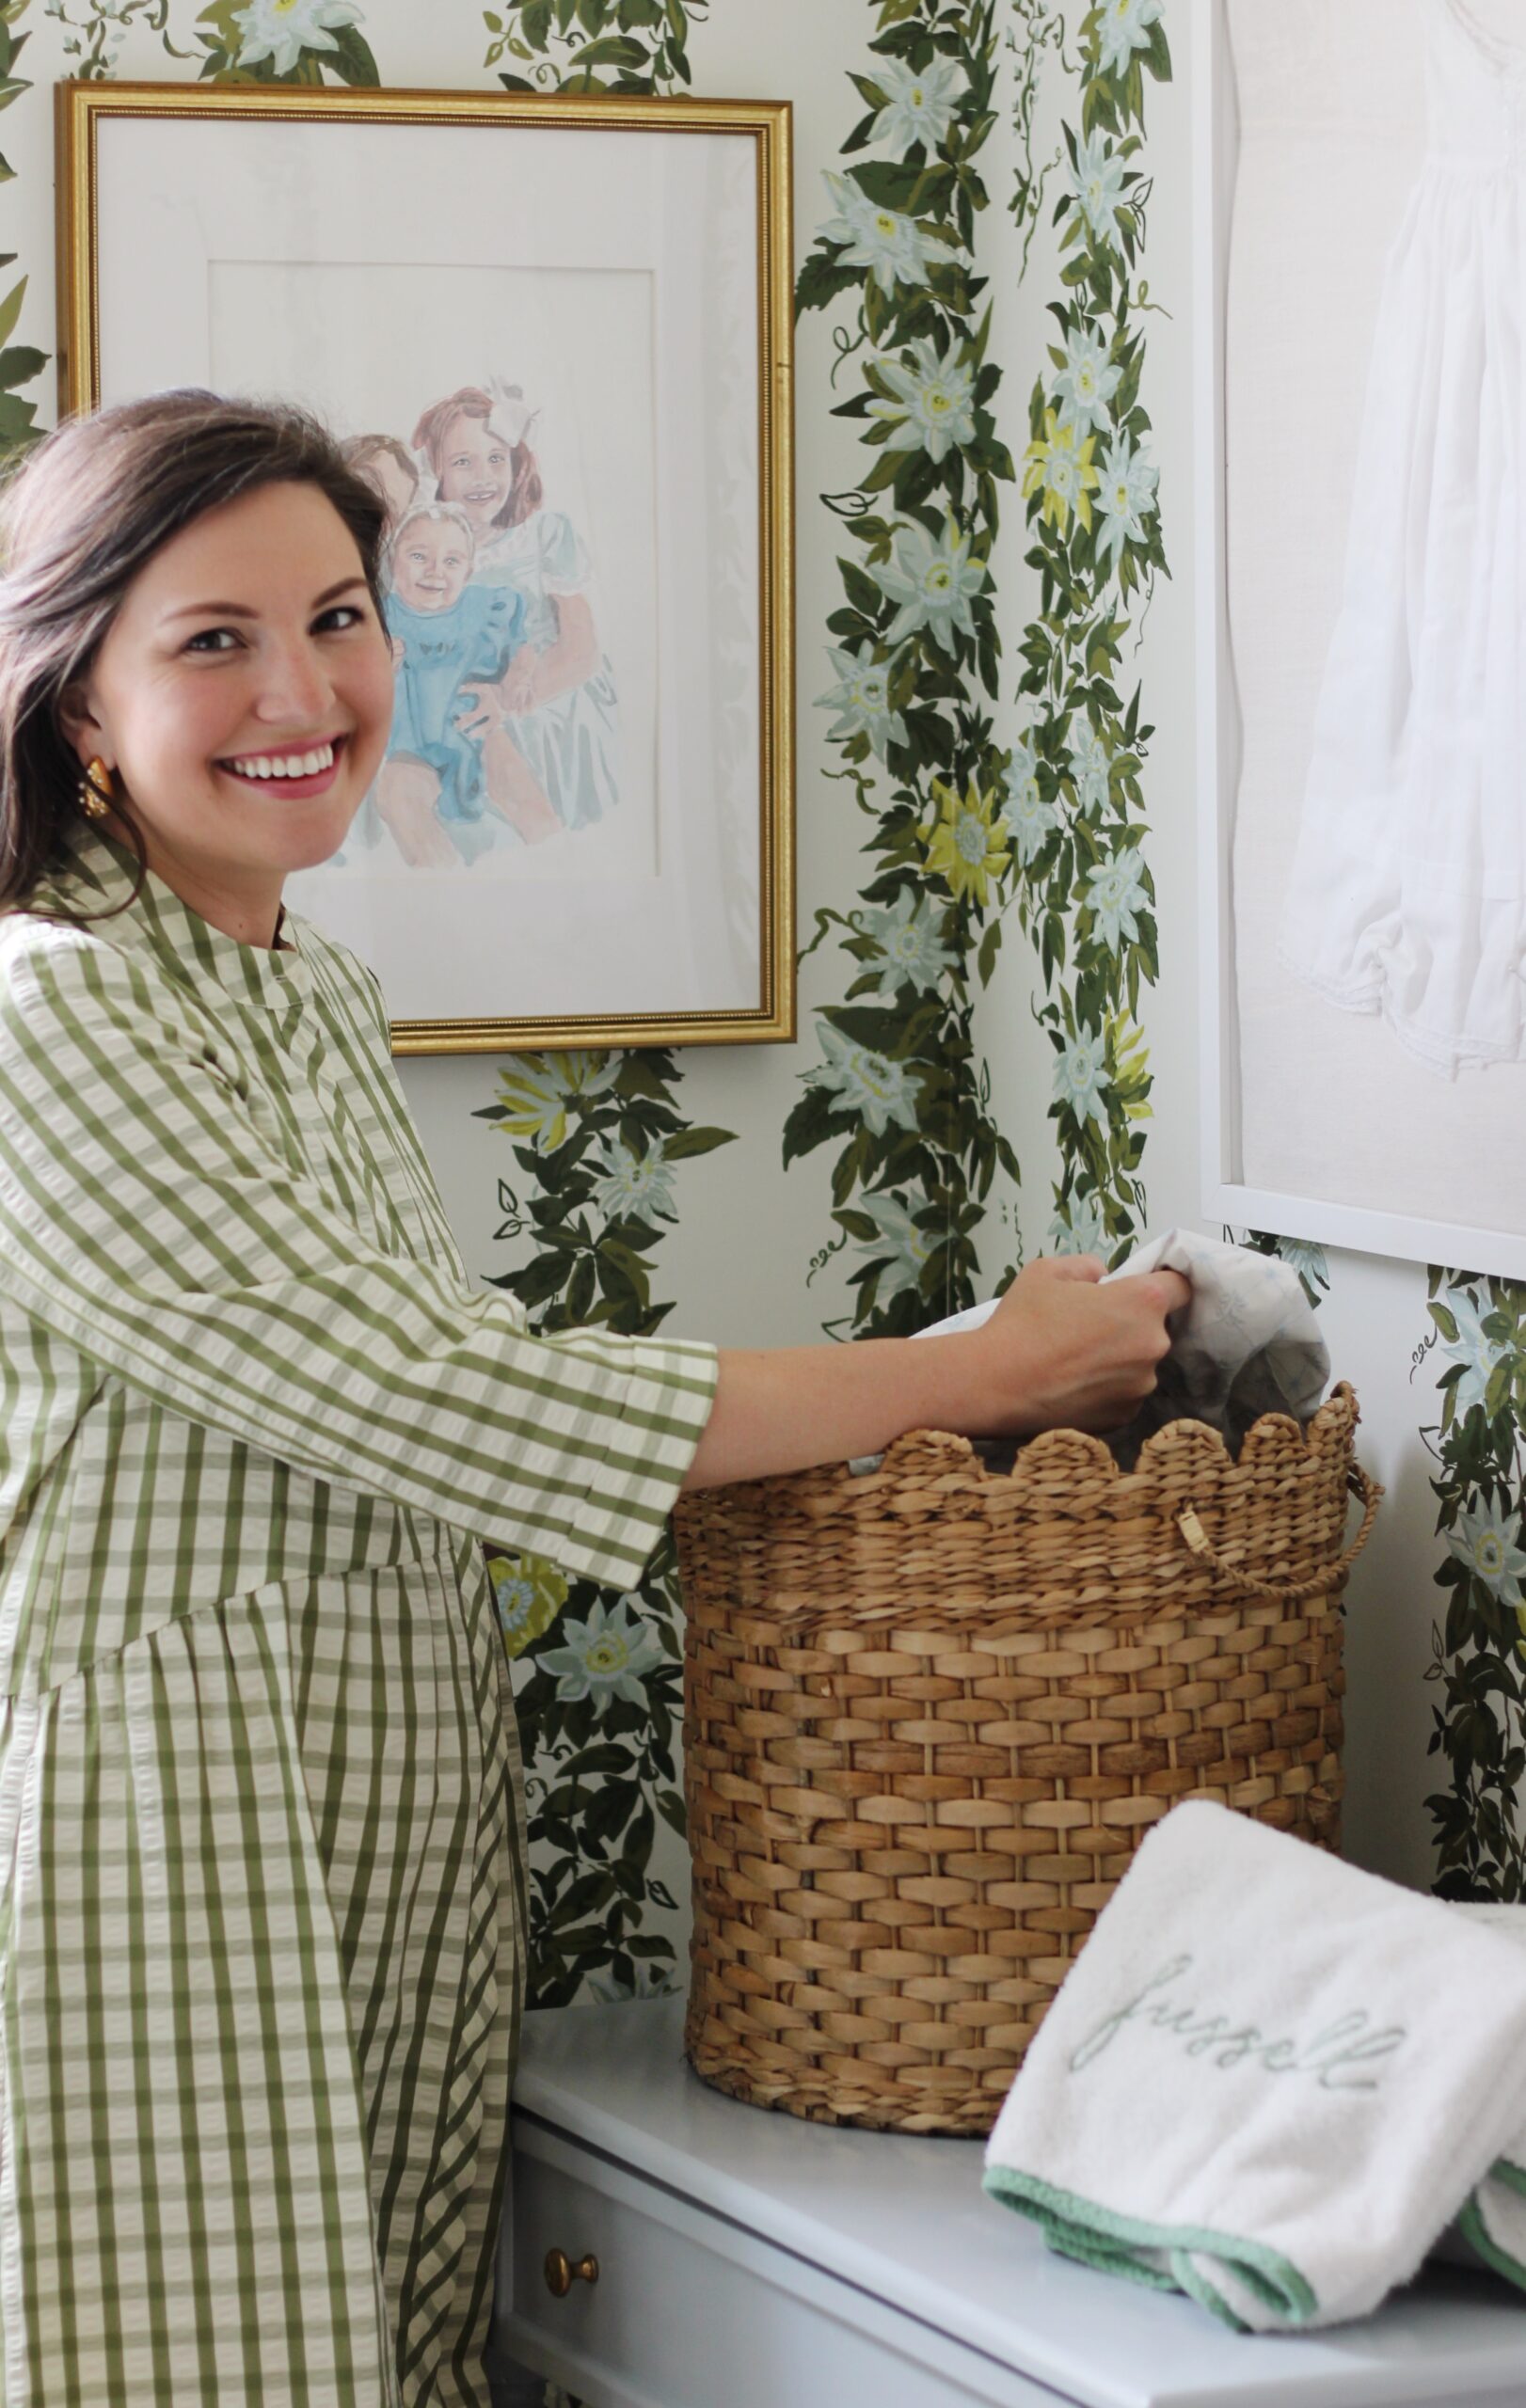
DIY Wallpaper Laundry Room Makeover

Find all of the laundry room links here and my spoonflower wallpaper + fabric recs here!
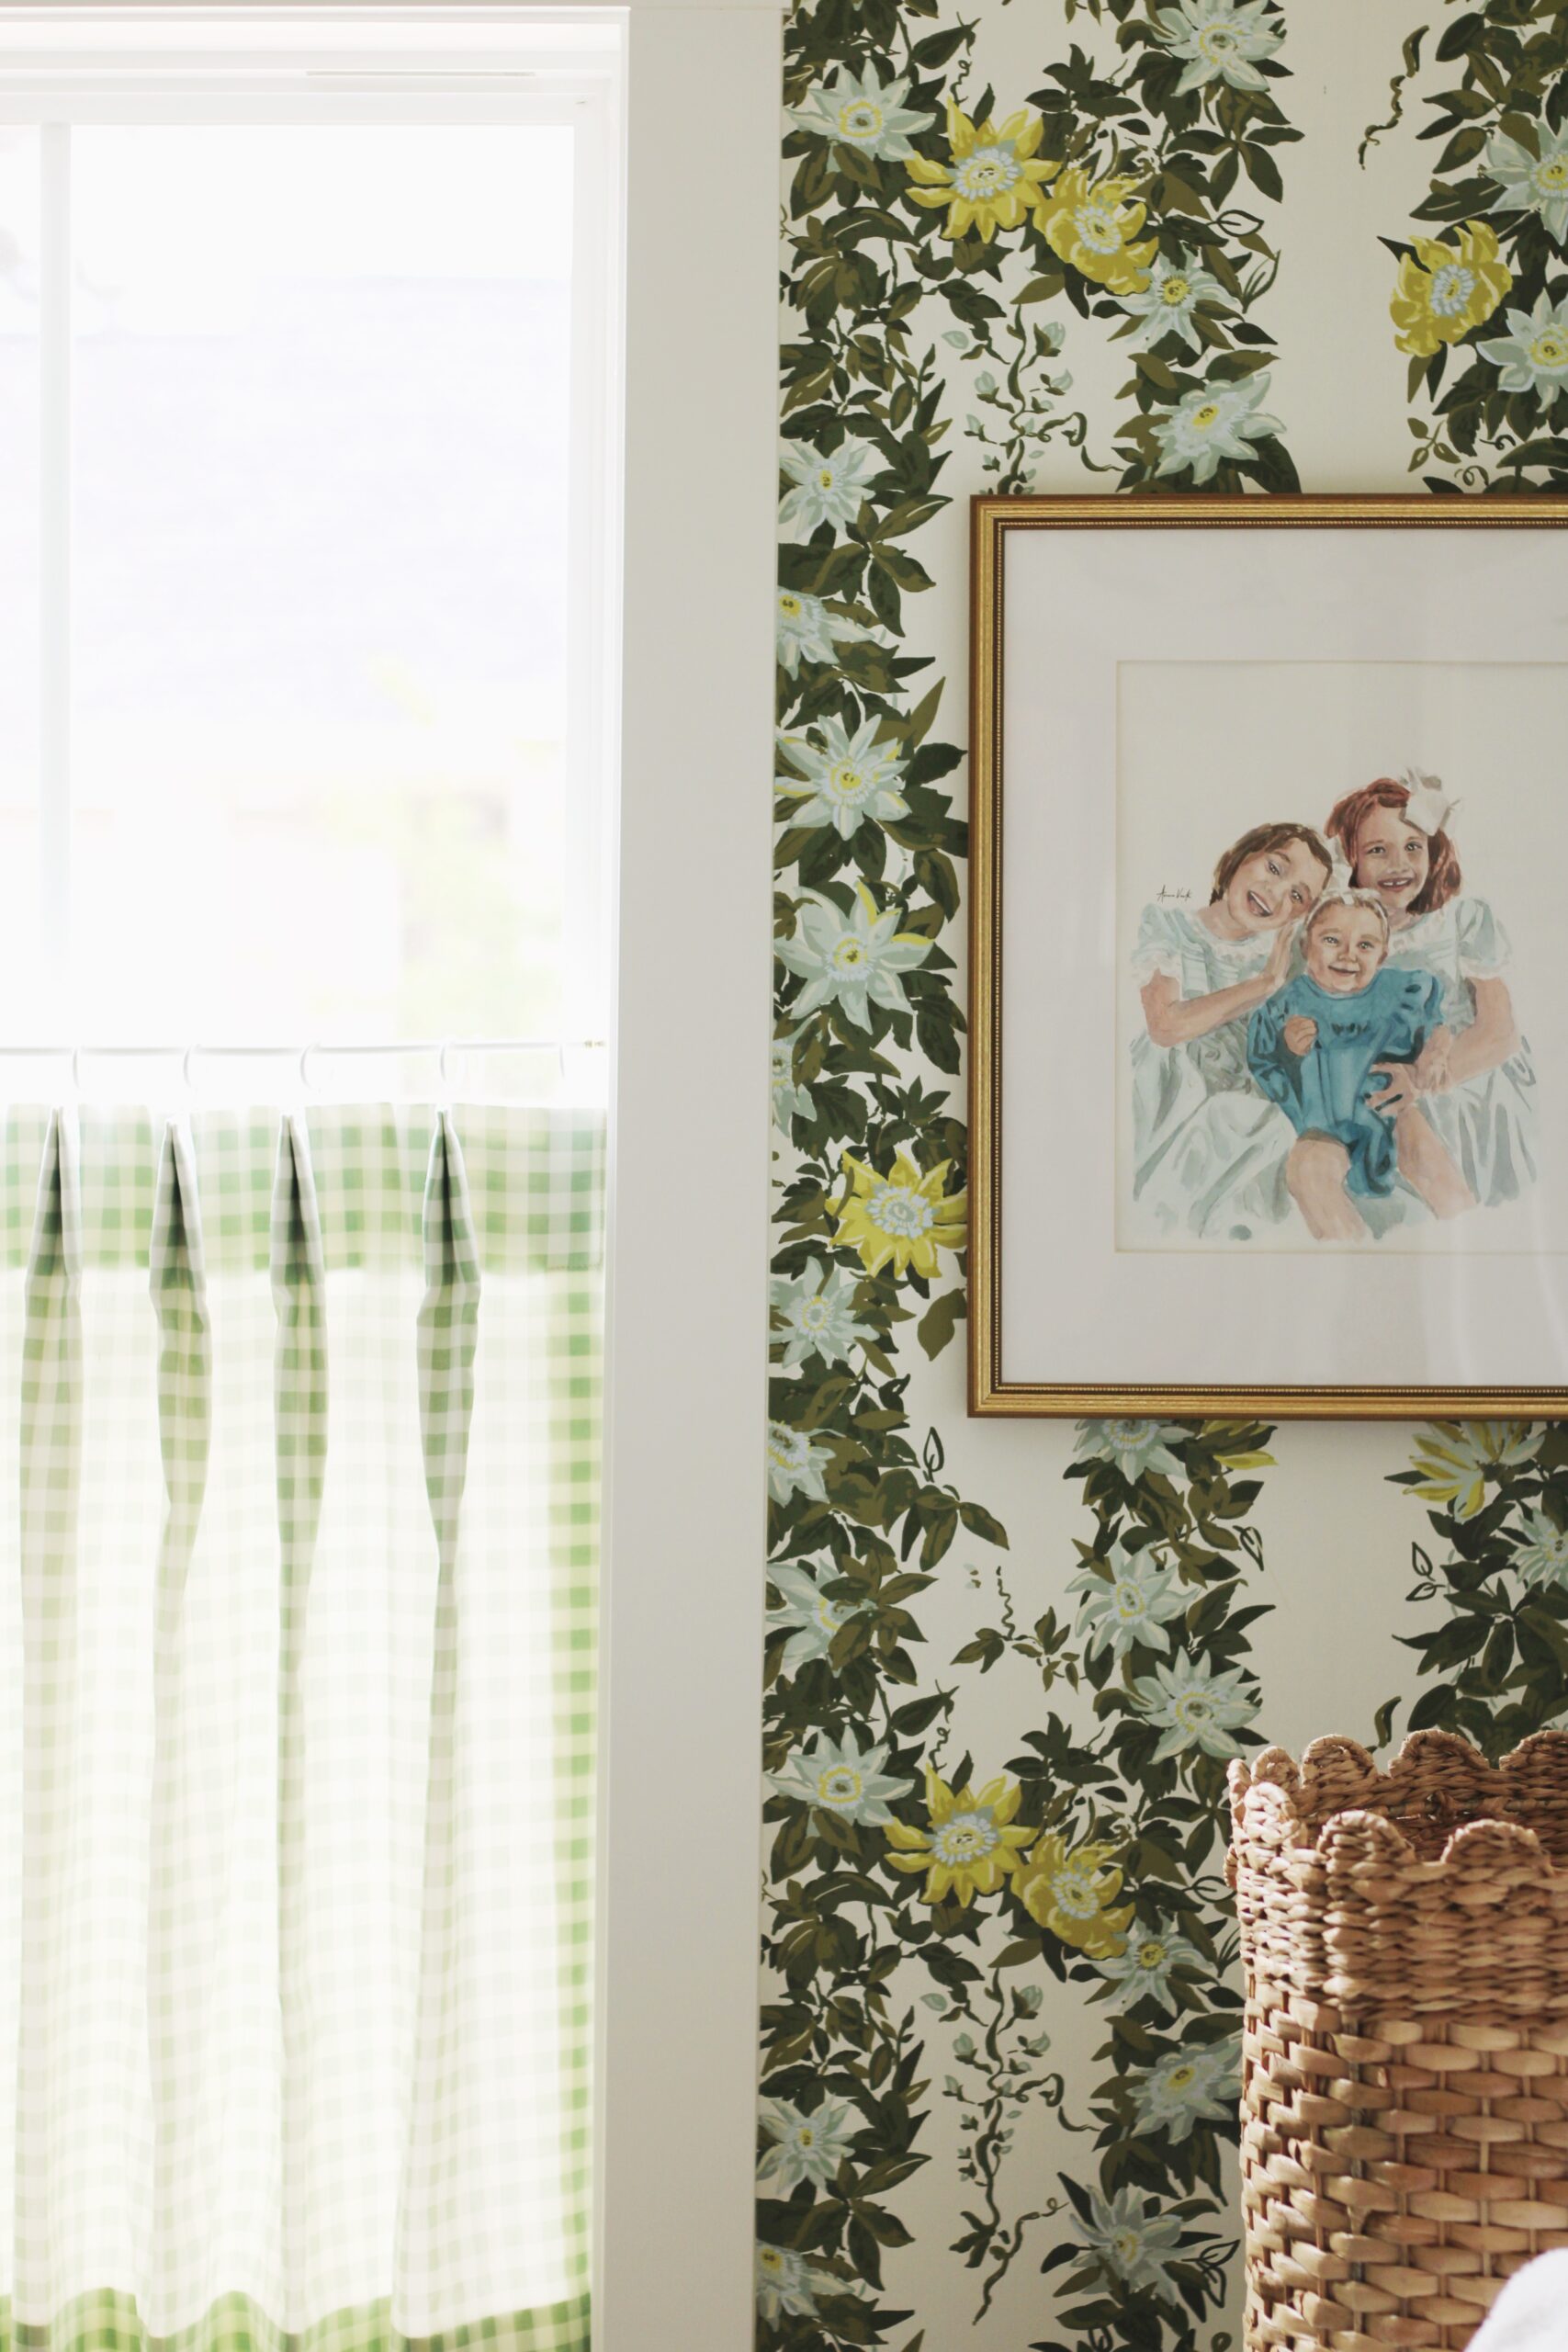
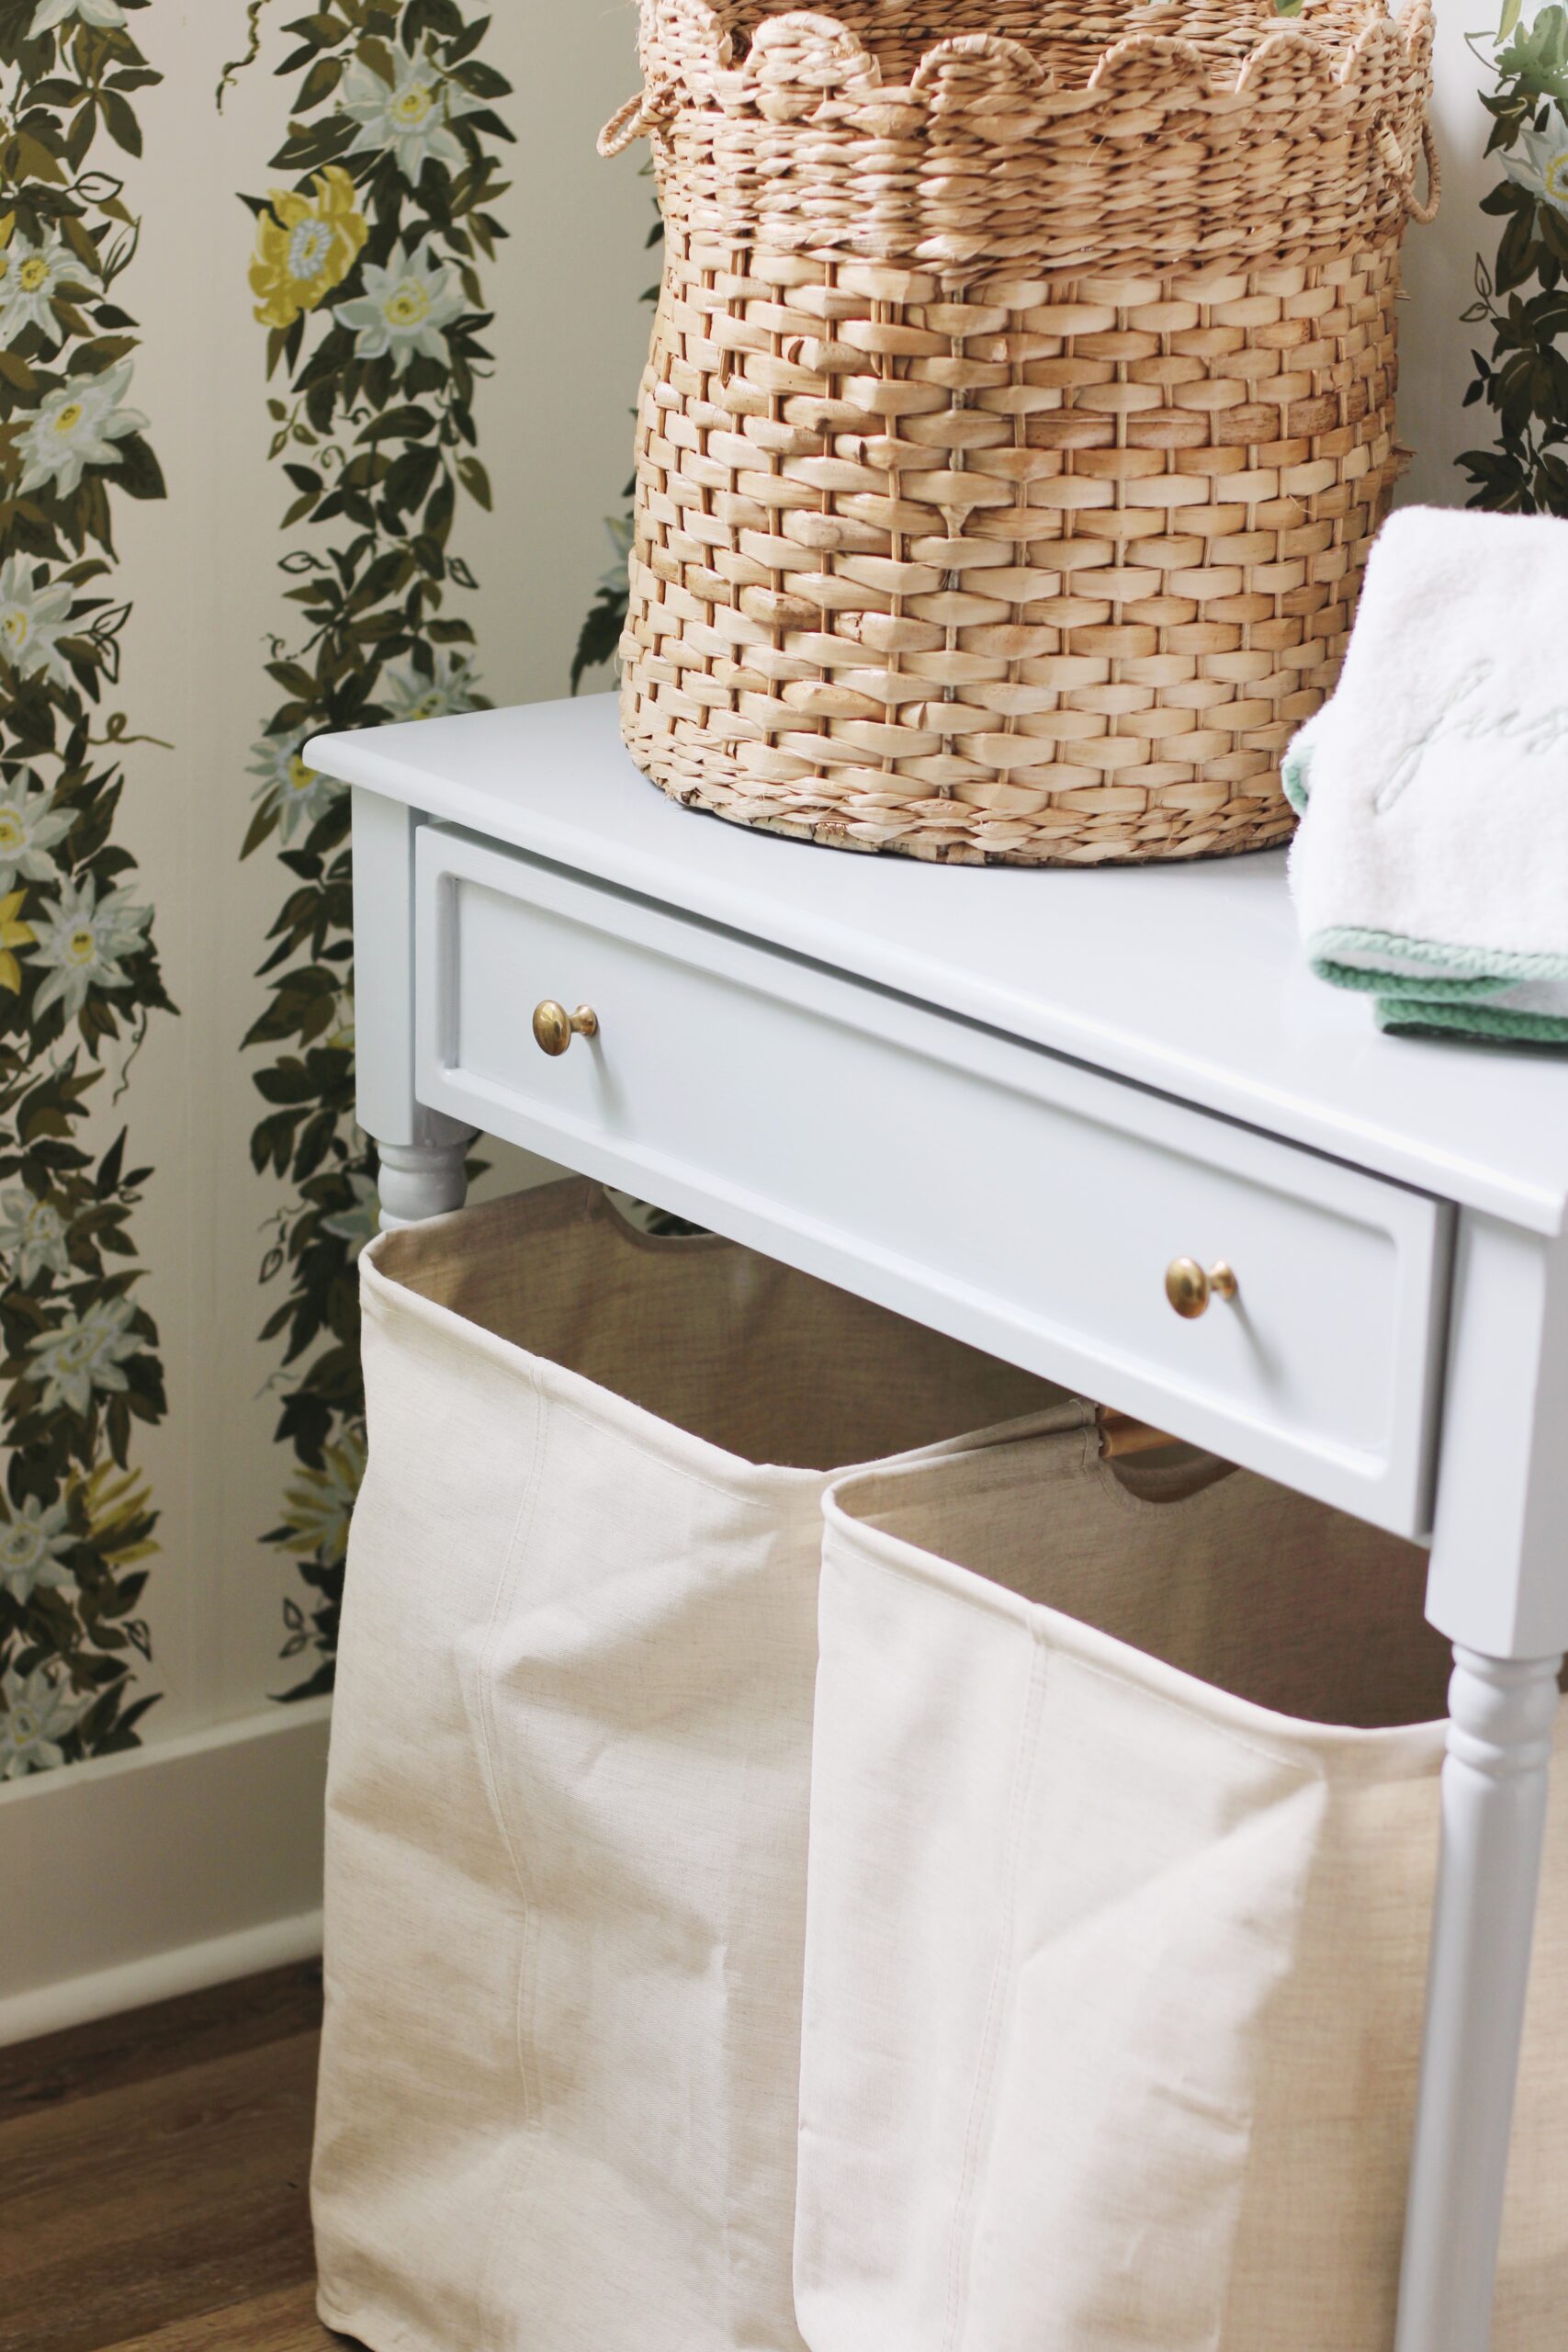
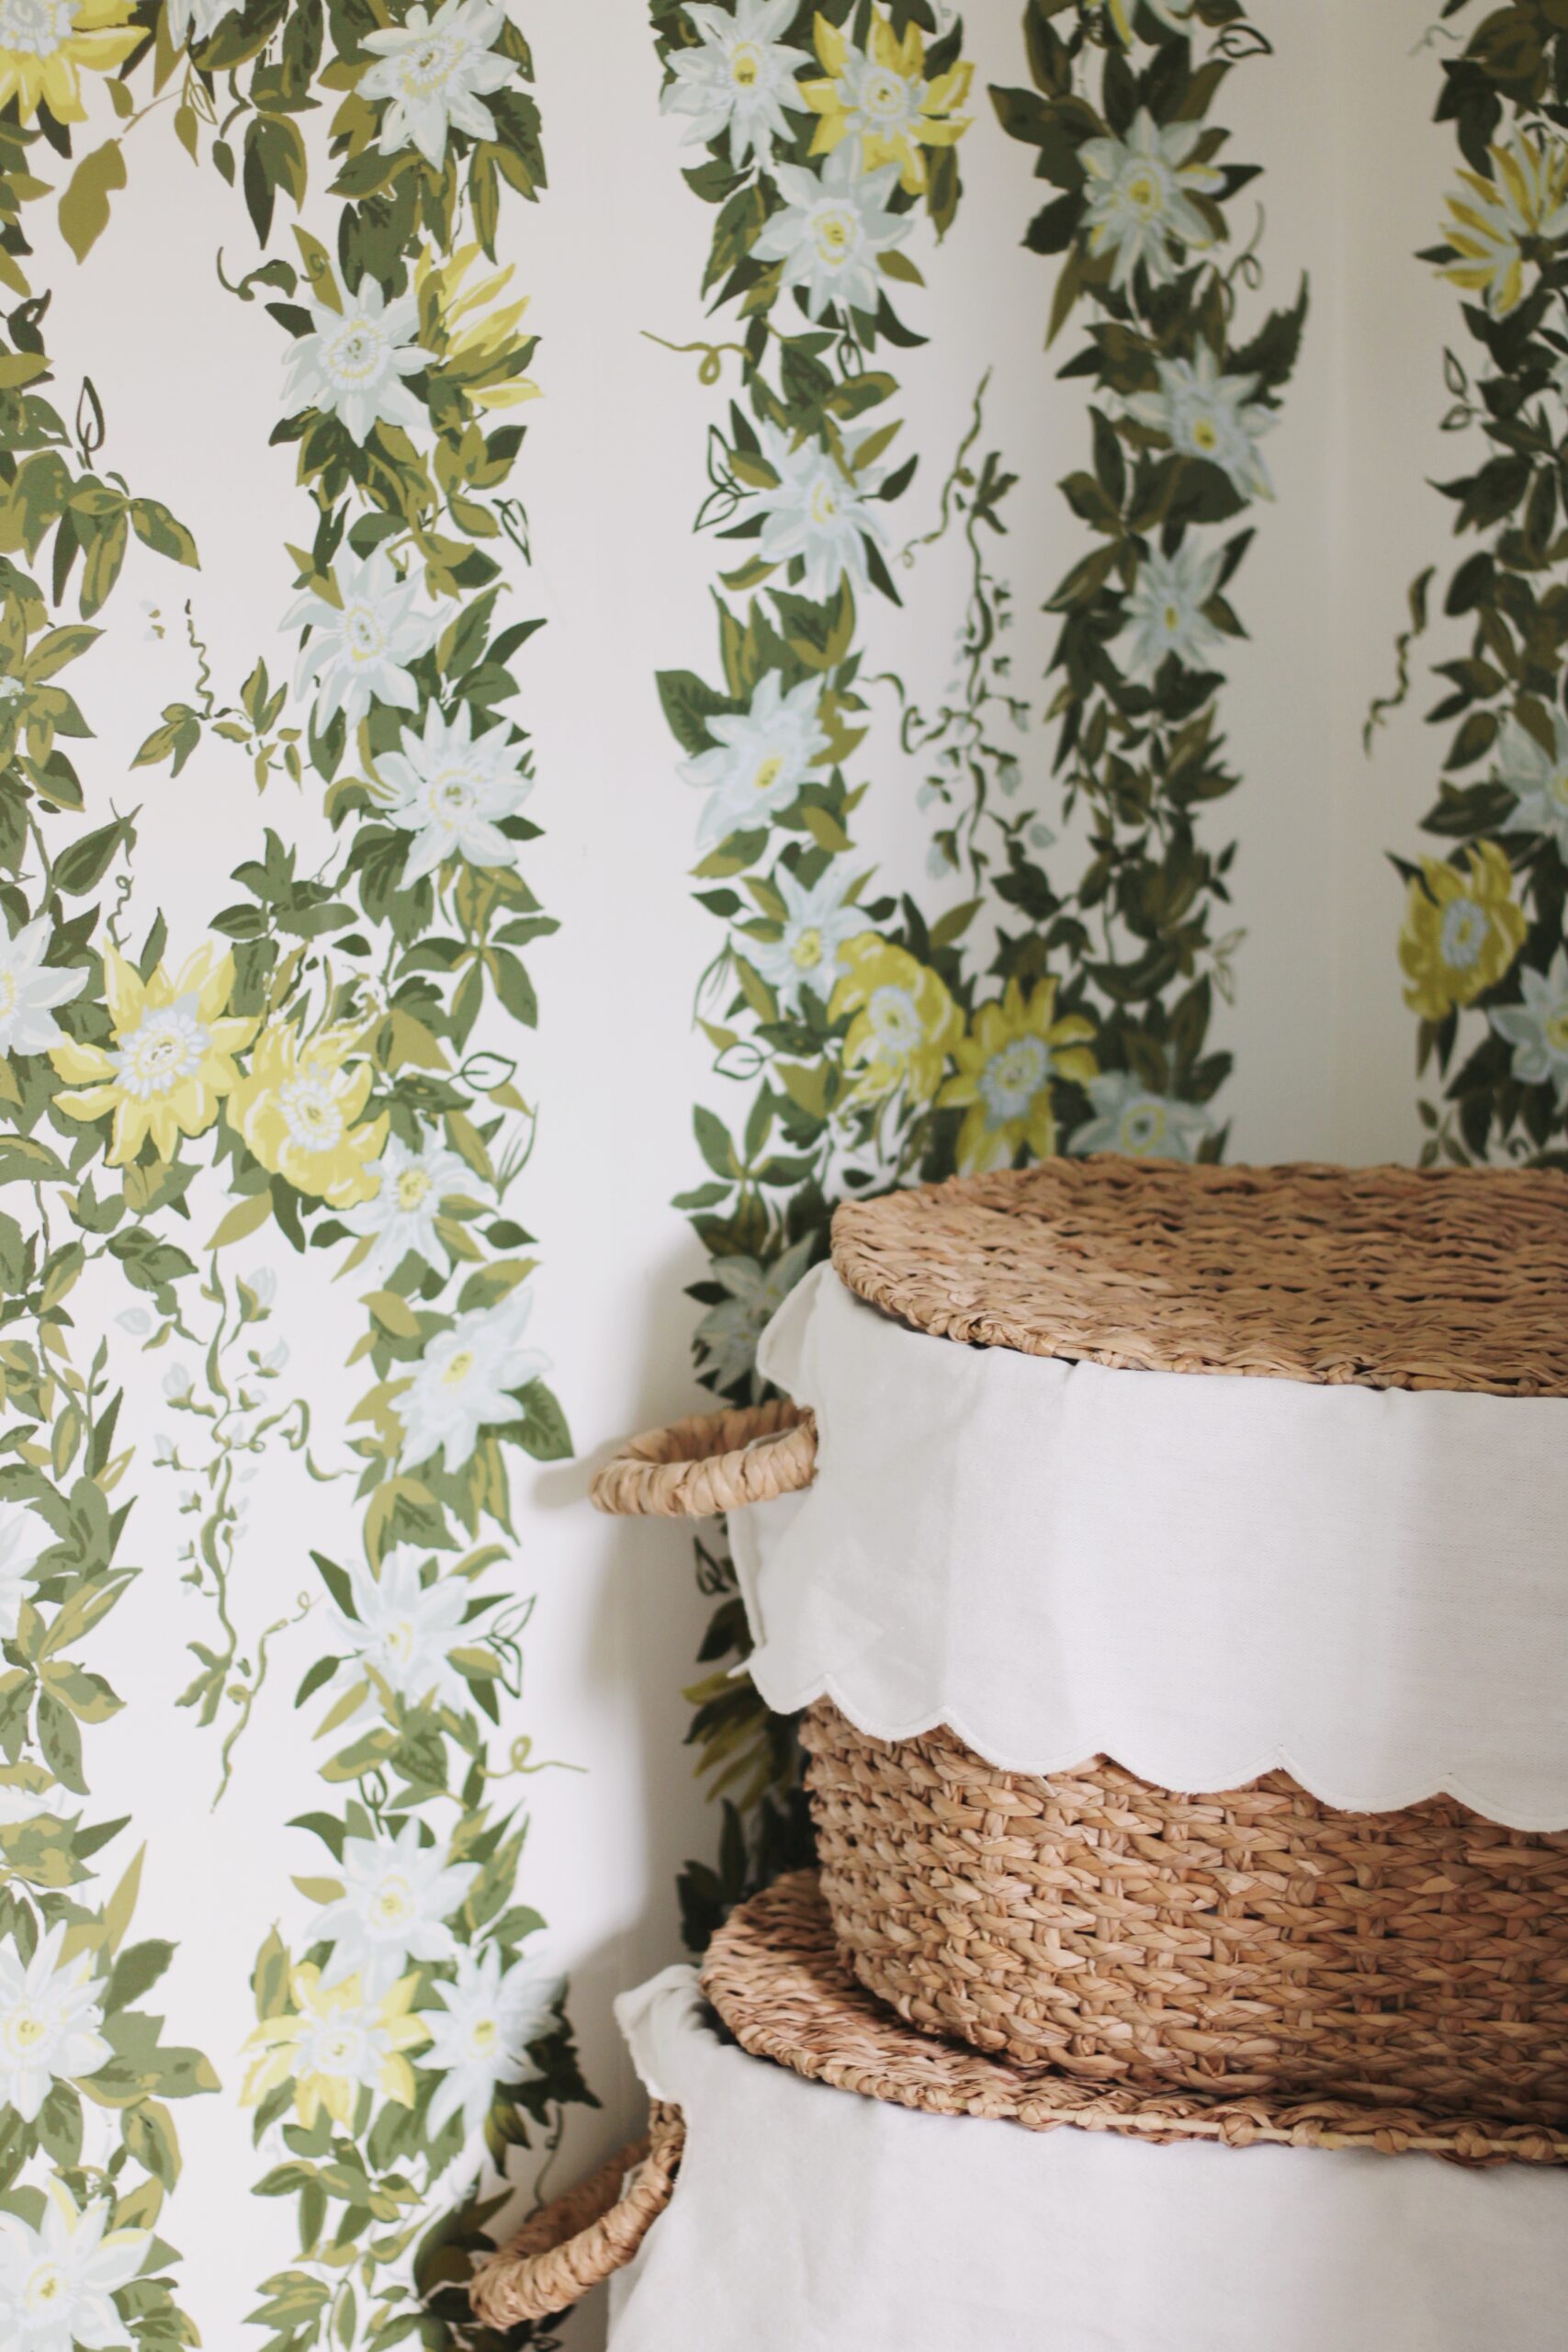
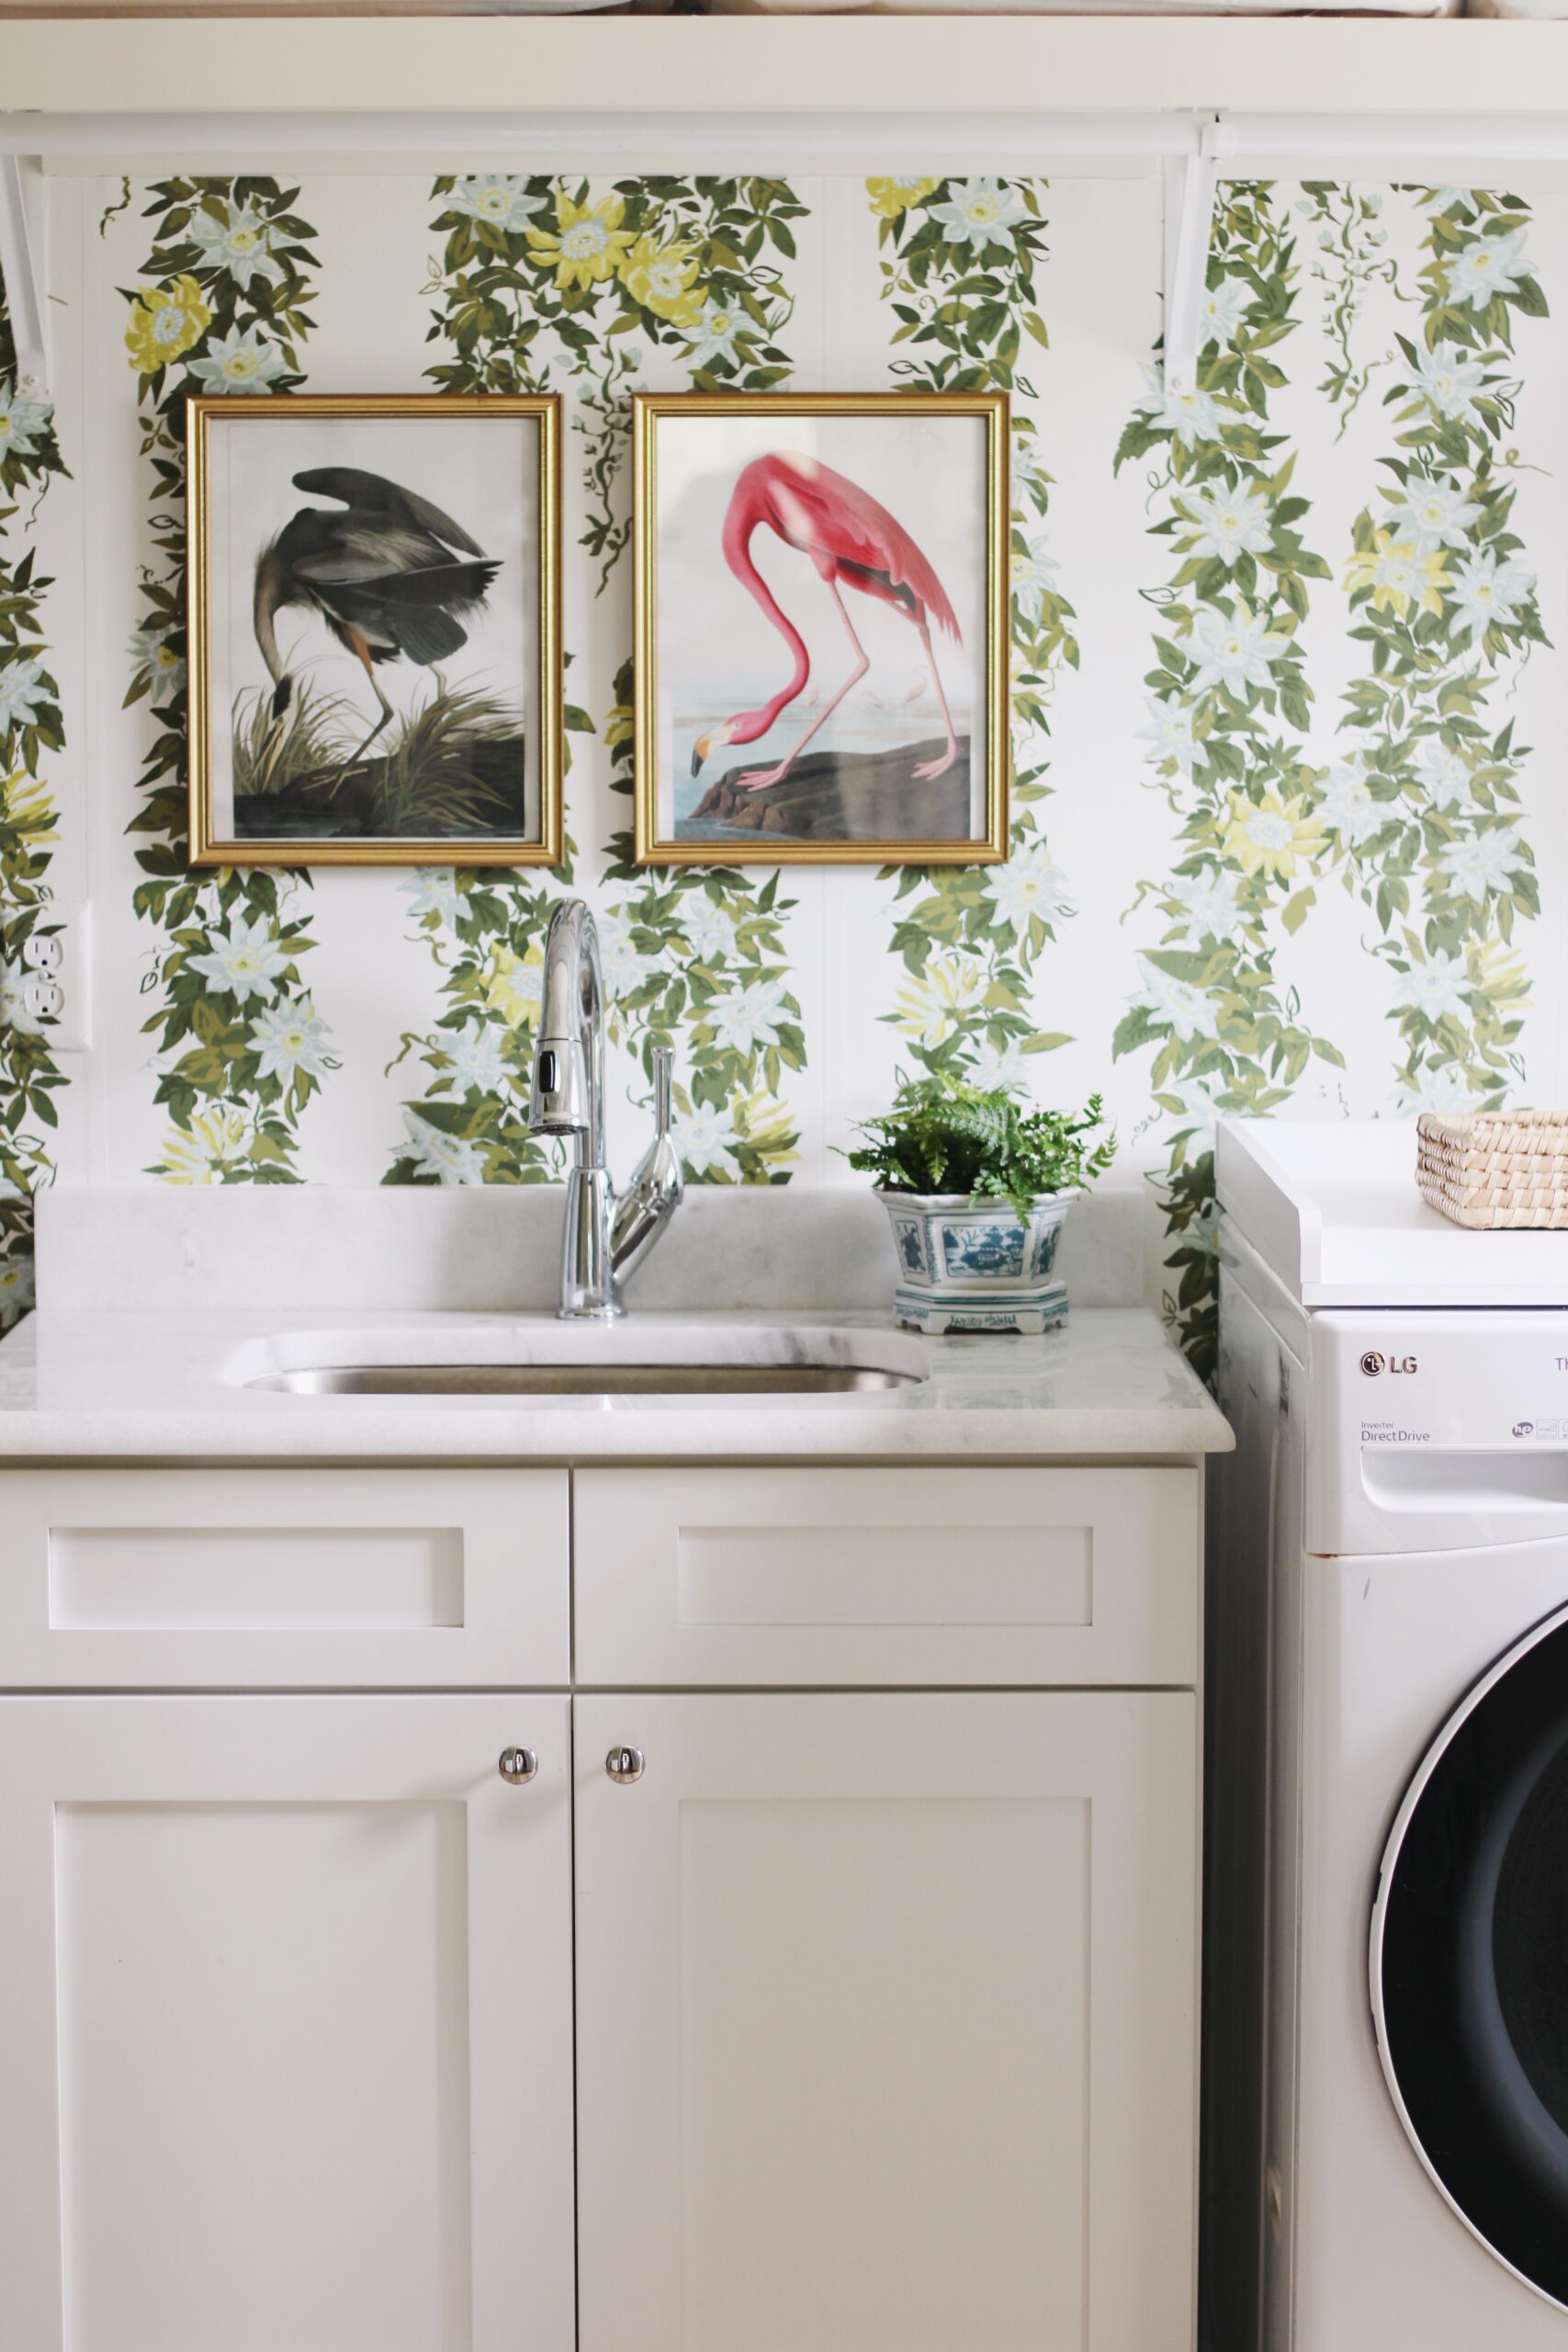
There is just nothing quite like the power of wallpaper to (almost) instantly transform a space. A little background here!
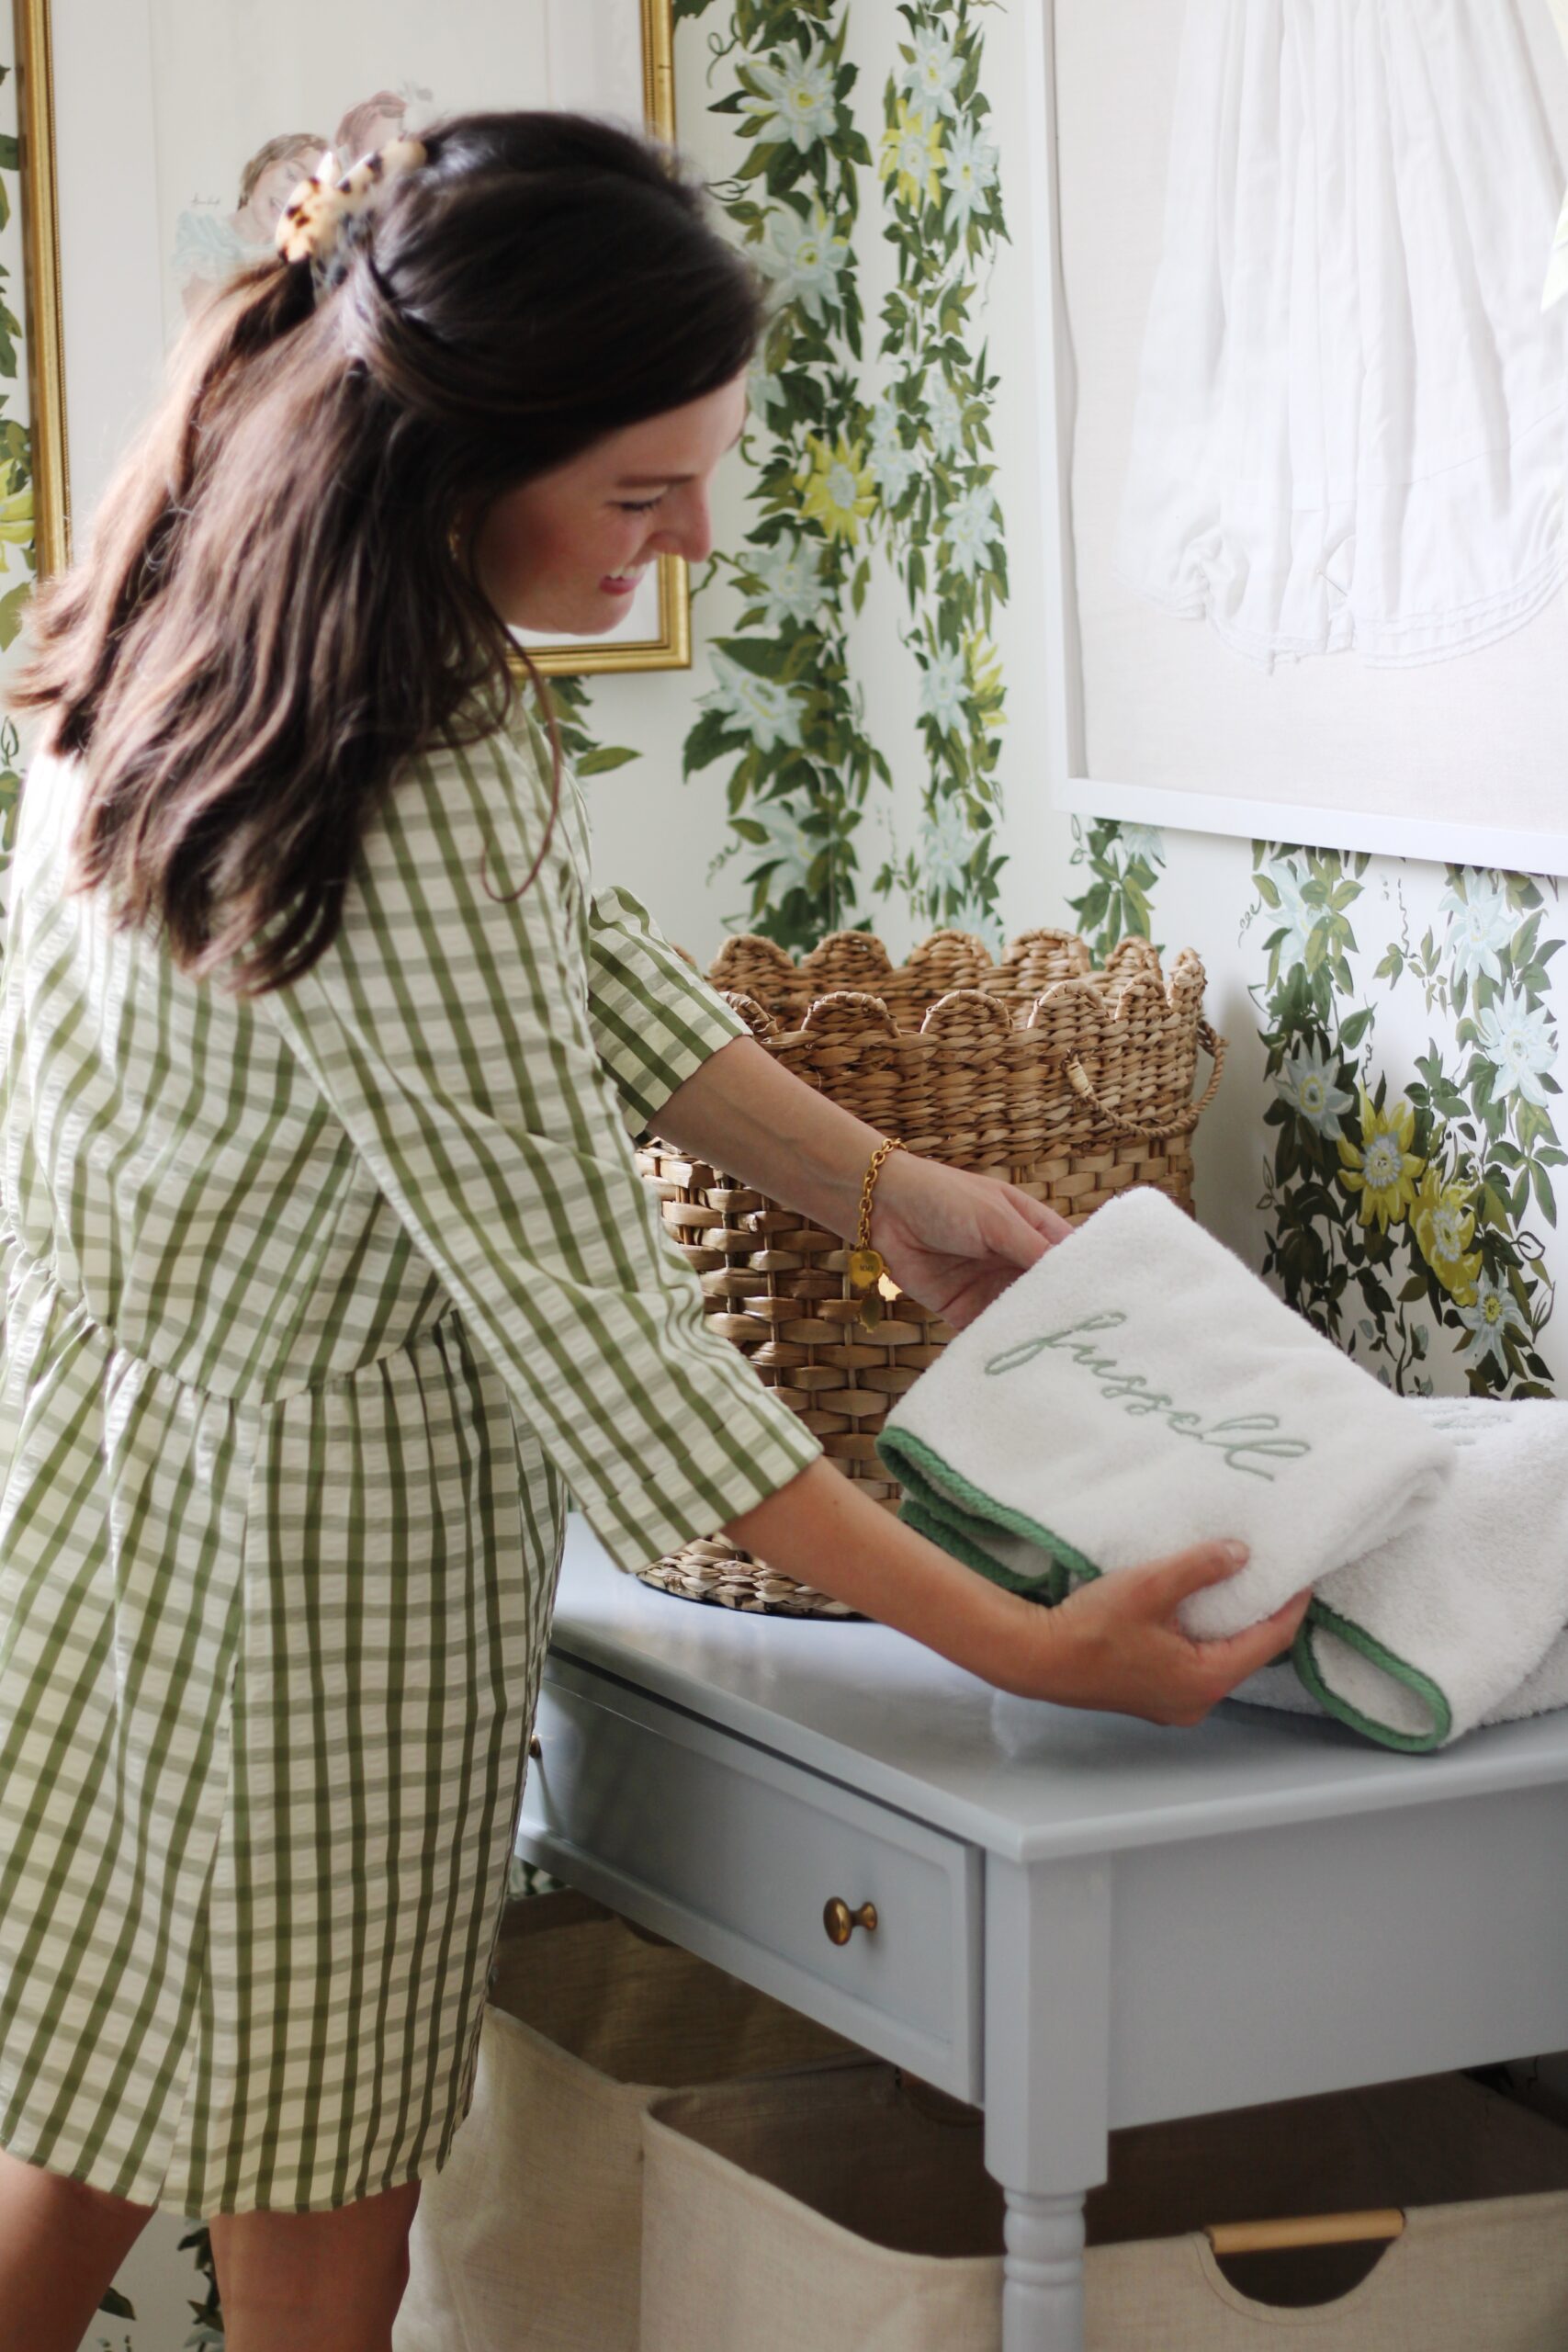
What used to feel like just another pass-through, chore-heavy room now feels bright, finished, and honestly… a little more fun to walk into (which I’ll take when I’m on my third load of laundry for the day 😅).
And if you’ve been here for a while, you already know—this is far from my first time using peel-and-stick wallpaper.
At this point, I’ve installed it in well over a dozen spaces in our homes… and I even used Spoonflower peel-and-stick in our last laundry room too. So going into this project, I knew exactly what I was getting—and exactly why I love it.
Why I Keep Coming Back to Wallpaper
Wallpaper is one of those design decisions that gives you the biggest bang for your buck.
Paint is great… but wallpaper?
It adds personality, depth, and that “finished” feeling in a way that’s hard to replicate.
And peel-and-stick makes it even better:
- No long-term commitment
- Beginner-friendly install
- Big transformation in a short amount of time
For this season of life (busy, full, lots of little hands everywhere), it just works.
Let’s Talk Pattern Mixing (Because I Know It Can Feel Intimidating)
If you’re anything like me, mixing patterns can feel a little scary at first.
Florals with stripes? Prints with textures? It can feel like a lot.
Before I order anything, I always create a quick mockup in Canva to see how everything will look together. I’ll pull in the wallpaper, fabrics, colors in the room—just to make sure it all flows before committing.
And honestly? Even tools like ChatGPT can help you visualize combinations before you order.
It takes the guesswork out and gives you so much more confidence going in.
My Simple 3-Step Wallpaper Process
After doing this more times than I can count, I’ve realized every project really comes down to three phases:
1. PREP
This is the part you don’t want to skip.
- Clear out the space
- Wipe down your walls
- Let your wallpaper acclimate
- Actually carve out time on your calendar to get it done
A little prep makes the entire install smoother.
2. INSTALL (aka the fun part)
This is where I fully lean in and make it an experience.
Fun drink? ✔️
Good music or a killer playlist? ✔️
Low pressure mindset? ✔️
And here’s your reminder: if you mess up, you can always peel it back and rehang that strip.
No stress needed.
3. DETAILS (don’t skip this!!)
This is what really makes everything look polished.
I always come back the next day and:
- Smooth out any bubbles with a wallpaper tool
- Trim edges cleanly with an X-Acto knife
- Cover outlet plates with leftover wallpaper so everything blends seamlessly
It’s a small step that makes a huge difference in the final look.
The Before & After (Don’t Forget This Part!)
One thing I always tell people—take the before photo.
Even if the space doesn’t feel that bad.
Because when you see the before and after side by side, it really hits you how much wallpaper can change a space.
This laundry room went from “fine” to “one of my favorite little corners of the house”… and that’s the magic of it.
A Few Final Thoughts
If you’ve been thinking about trying wallpaper, this is your sign.
Start small. A laundry room, a powder bath, a nook—something low pressure where you can have fun with it.
And don’t overthink it. The beauty of peel-and-stick is that it’s forgiving, flexible, and made for real life.