Our Fireplace Builtins Project
Let’s rewind two-ish years. Y’all might remember we were planning to buy another house, that one didn’t work out and we quickly found this brand new home in the middle of the chaos. Brand new was the exact opposite of the other home we were under contract on and we’ve had to use a whole lot of creativity to make this home feel a little more us!
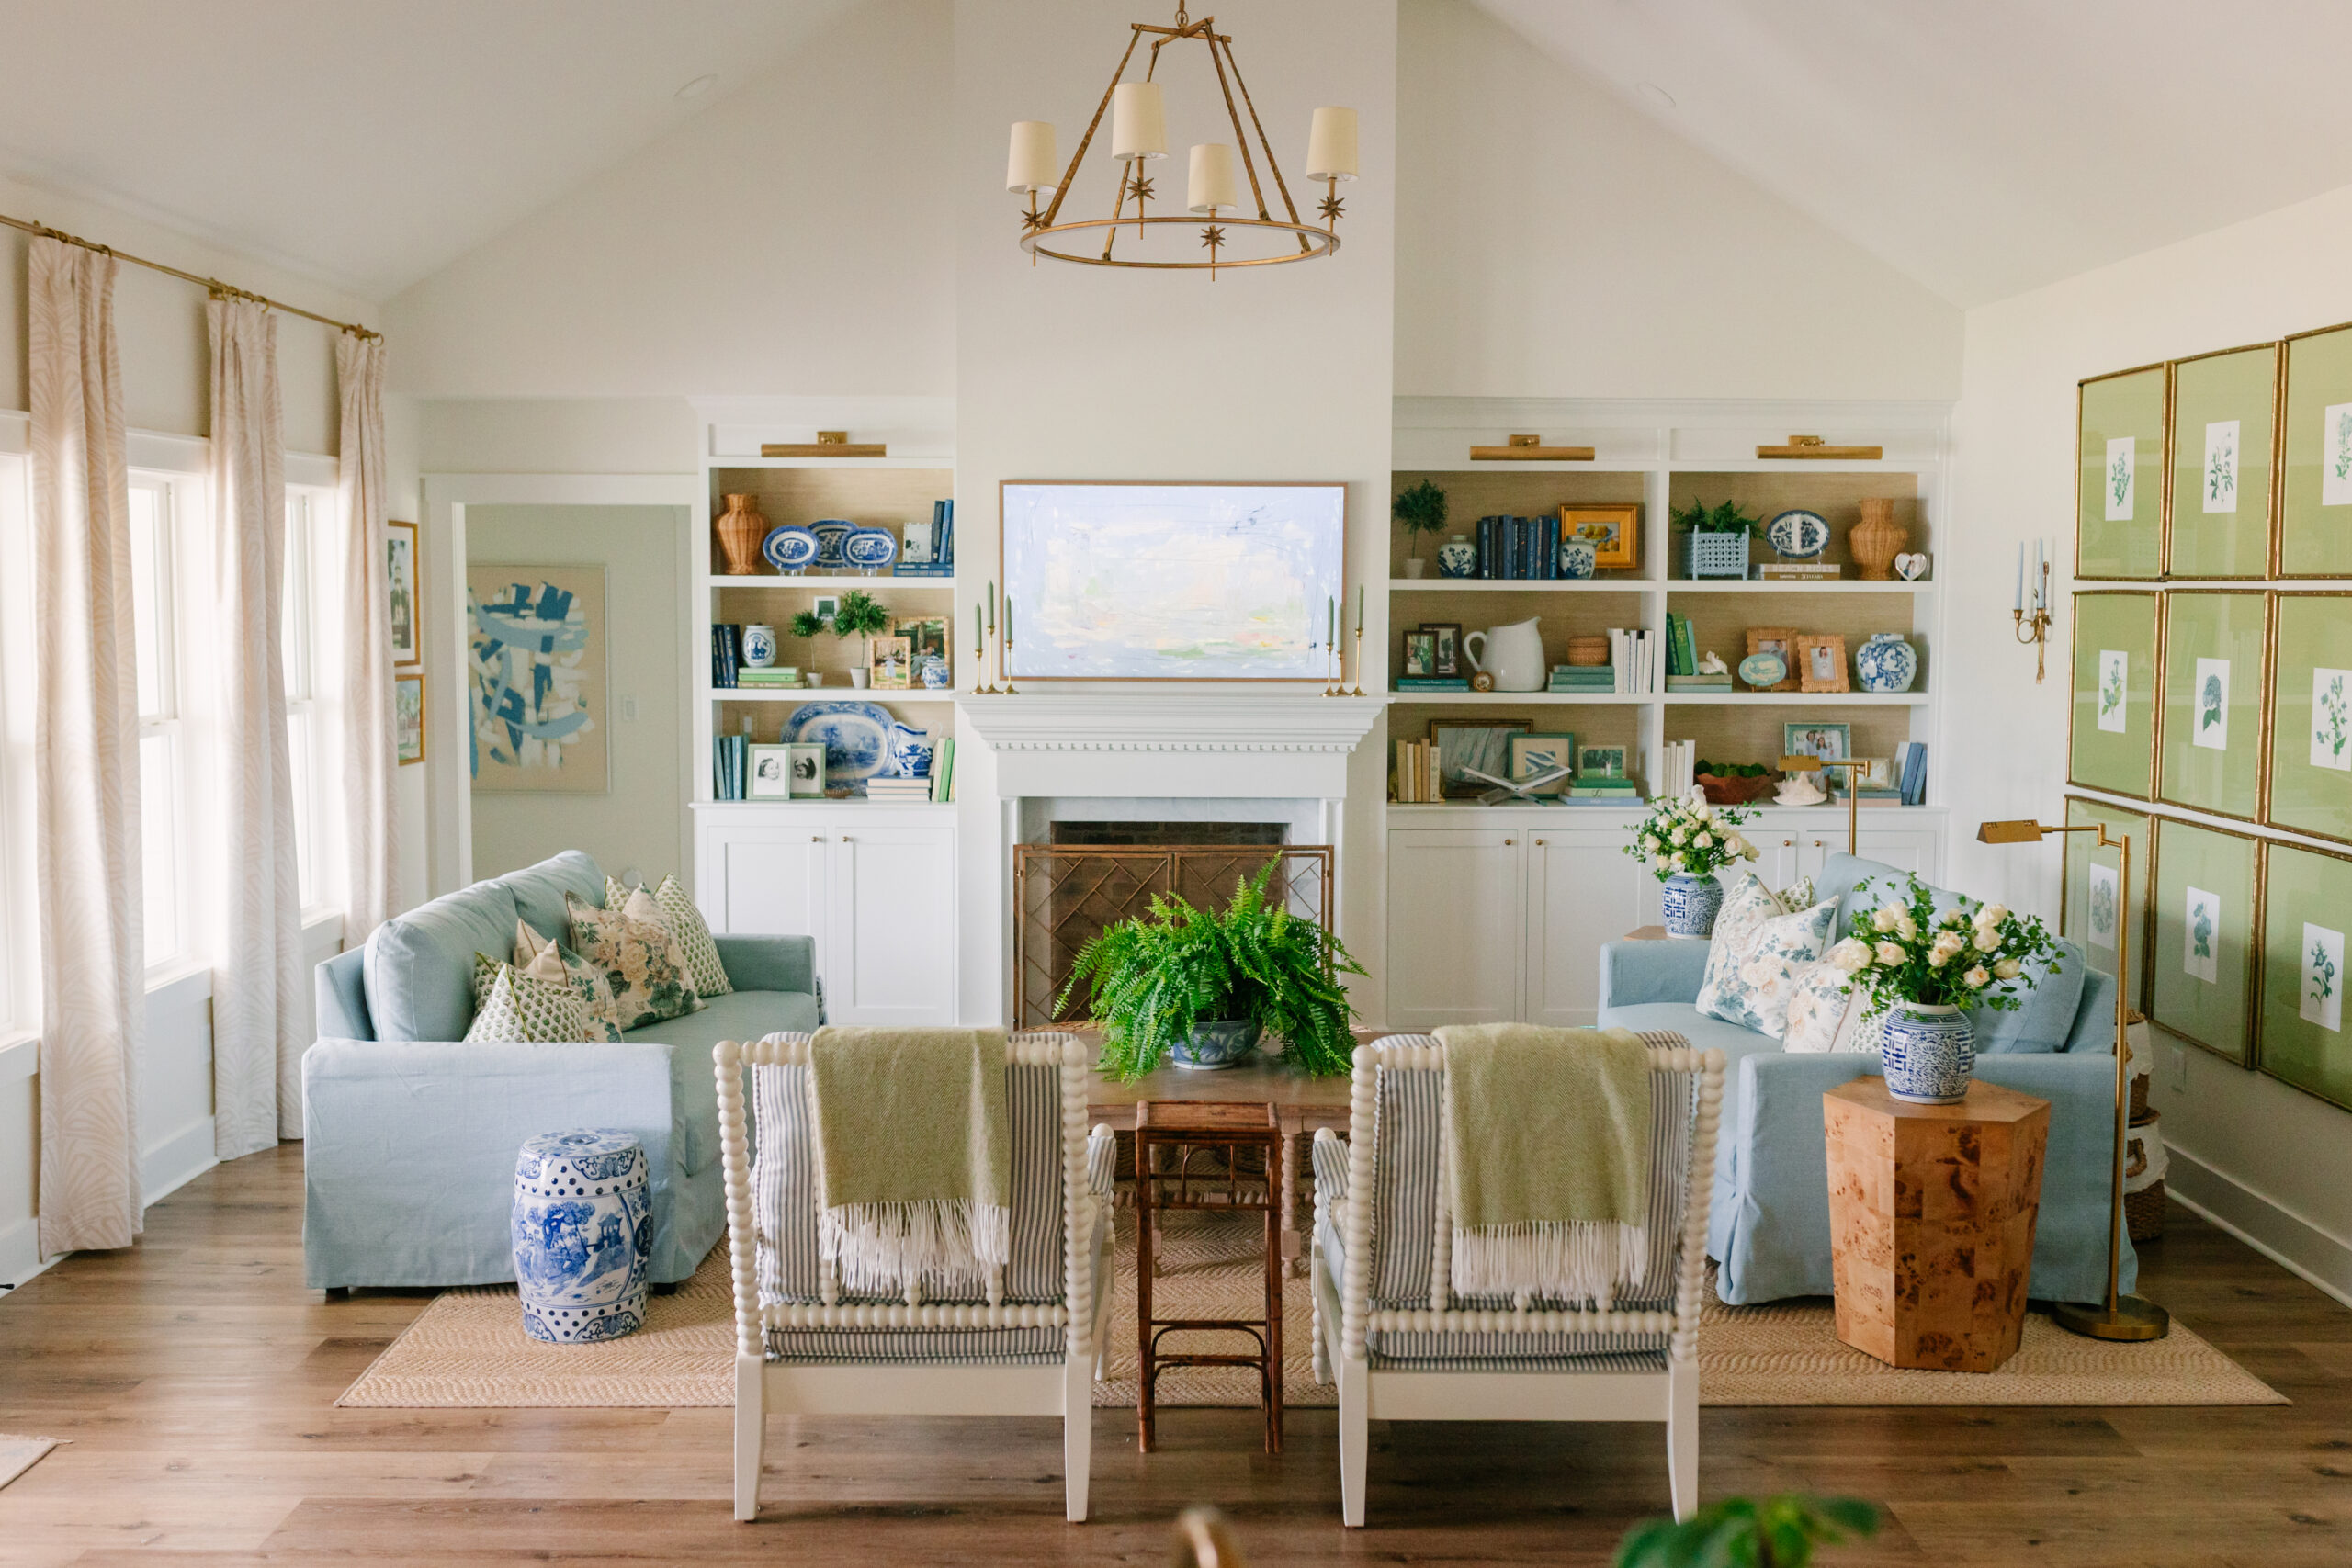
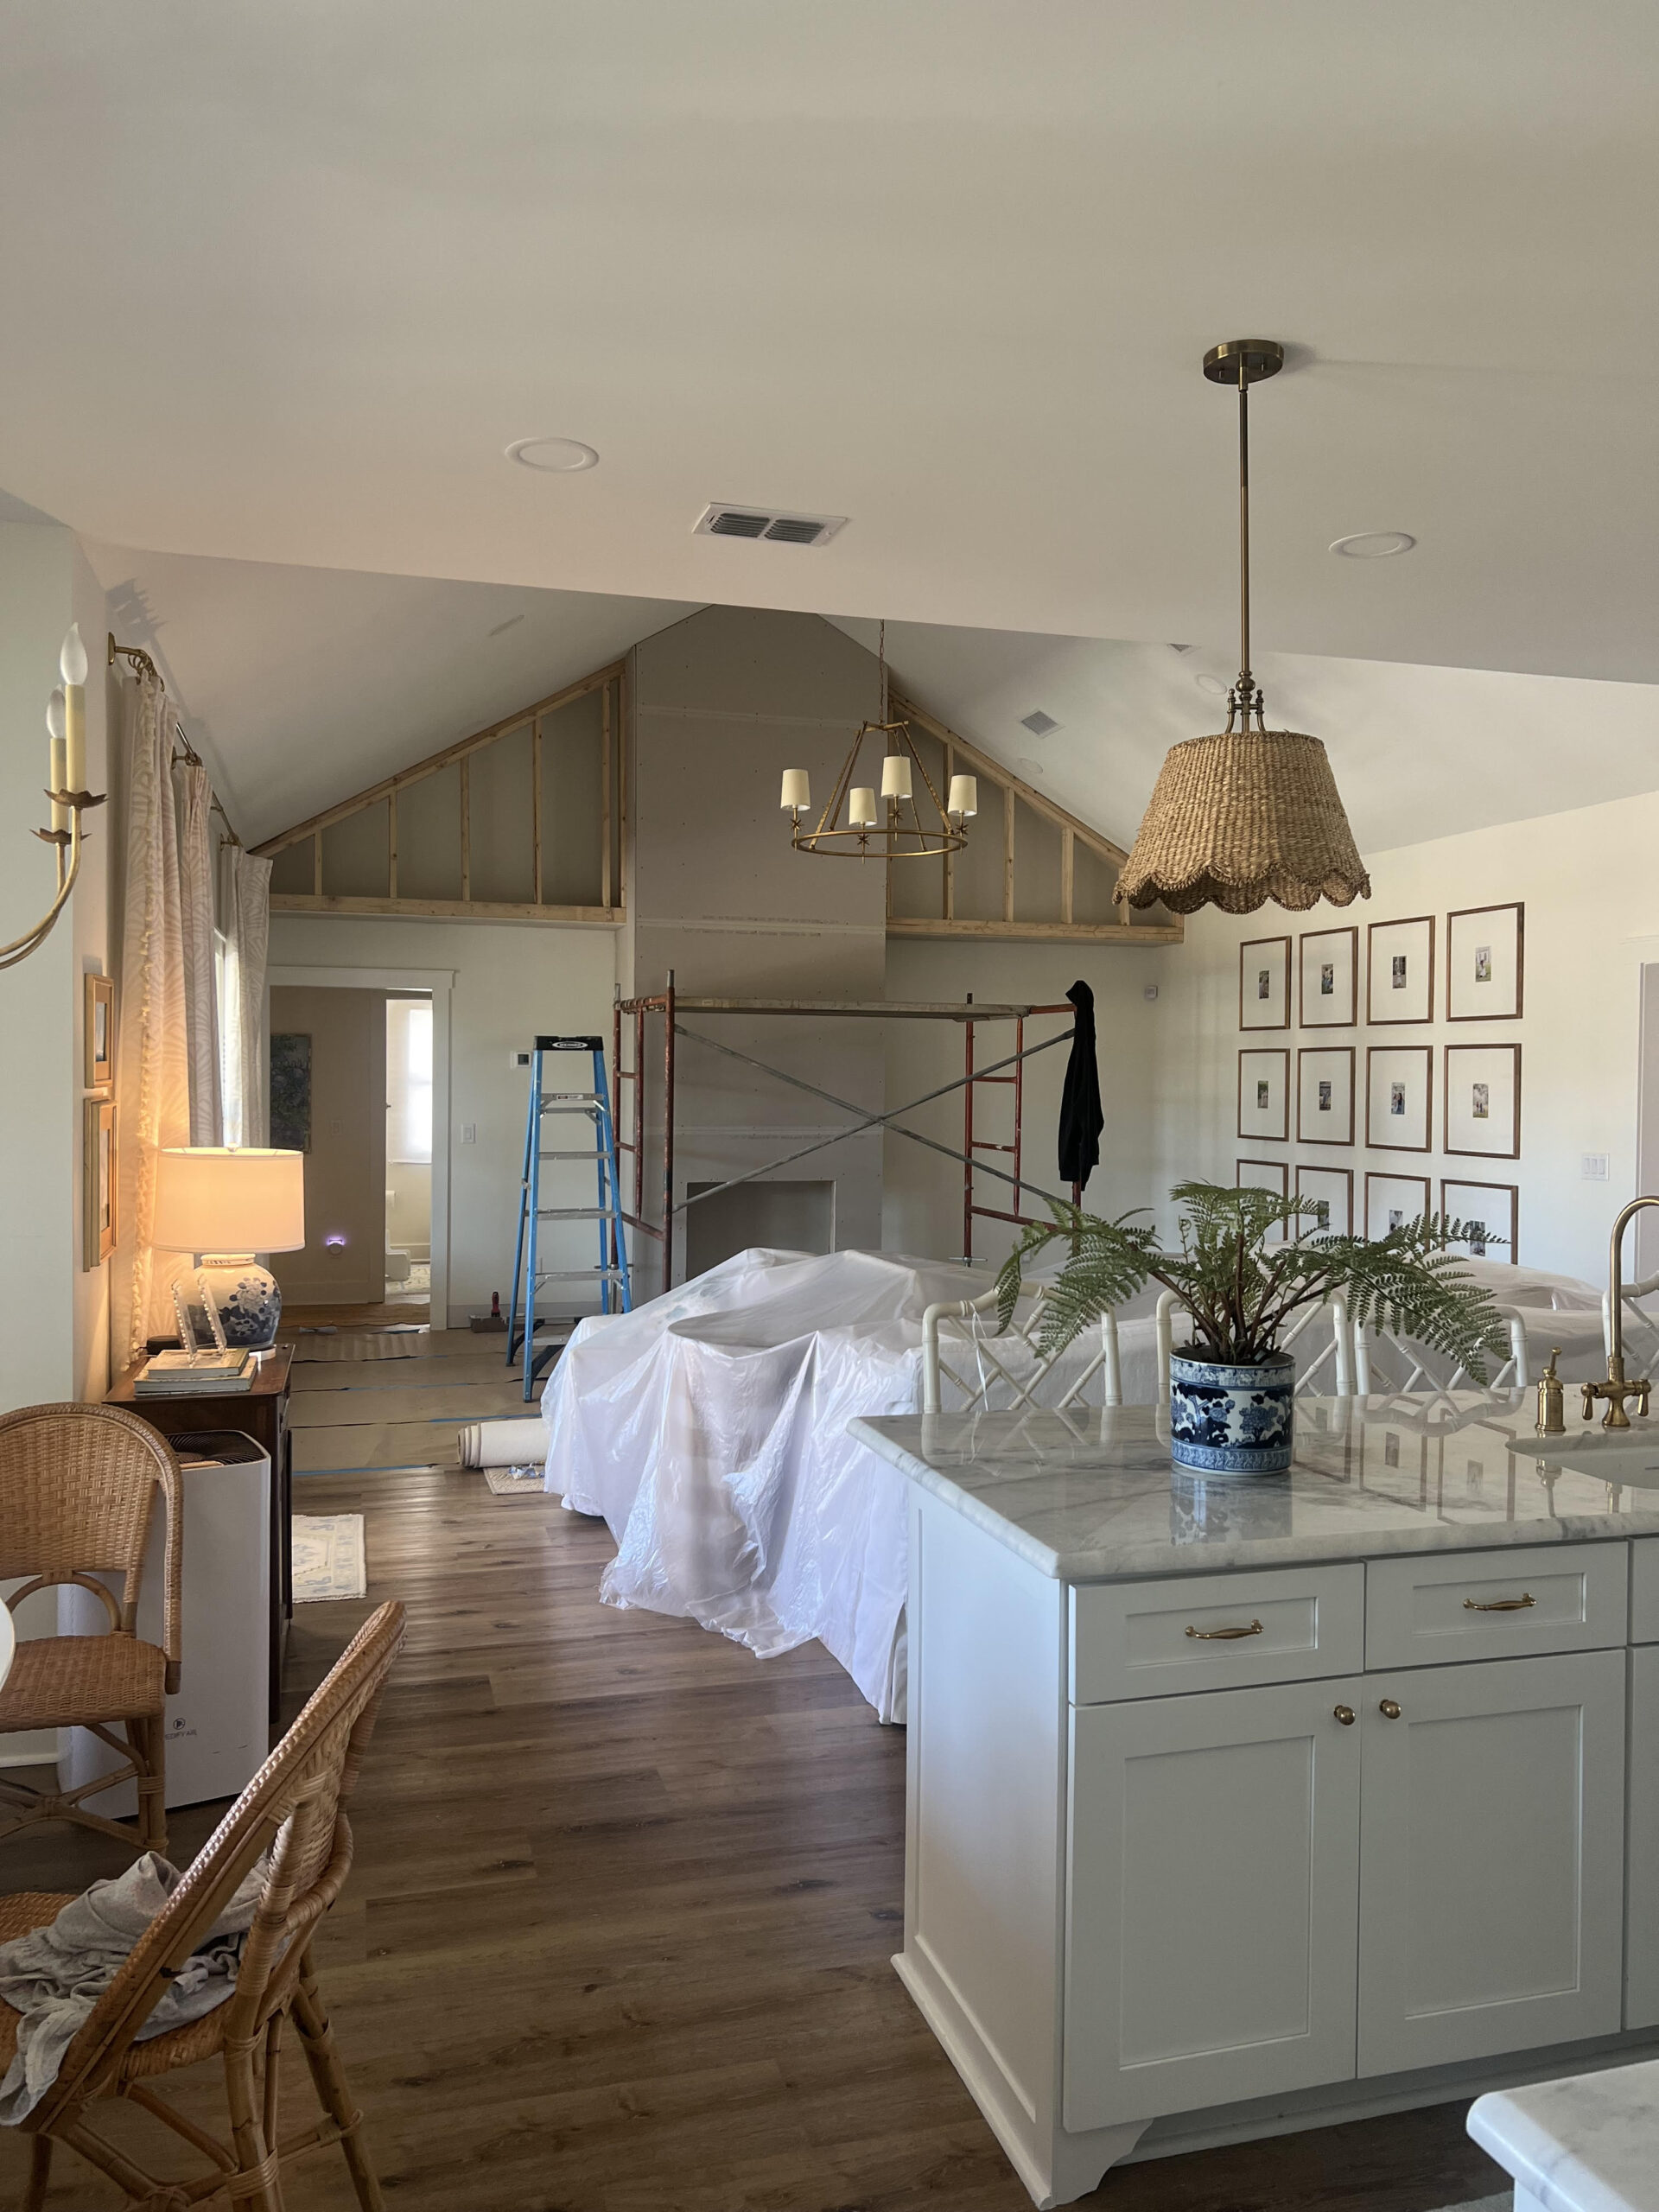
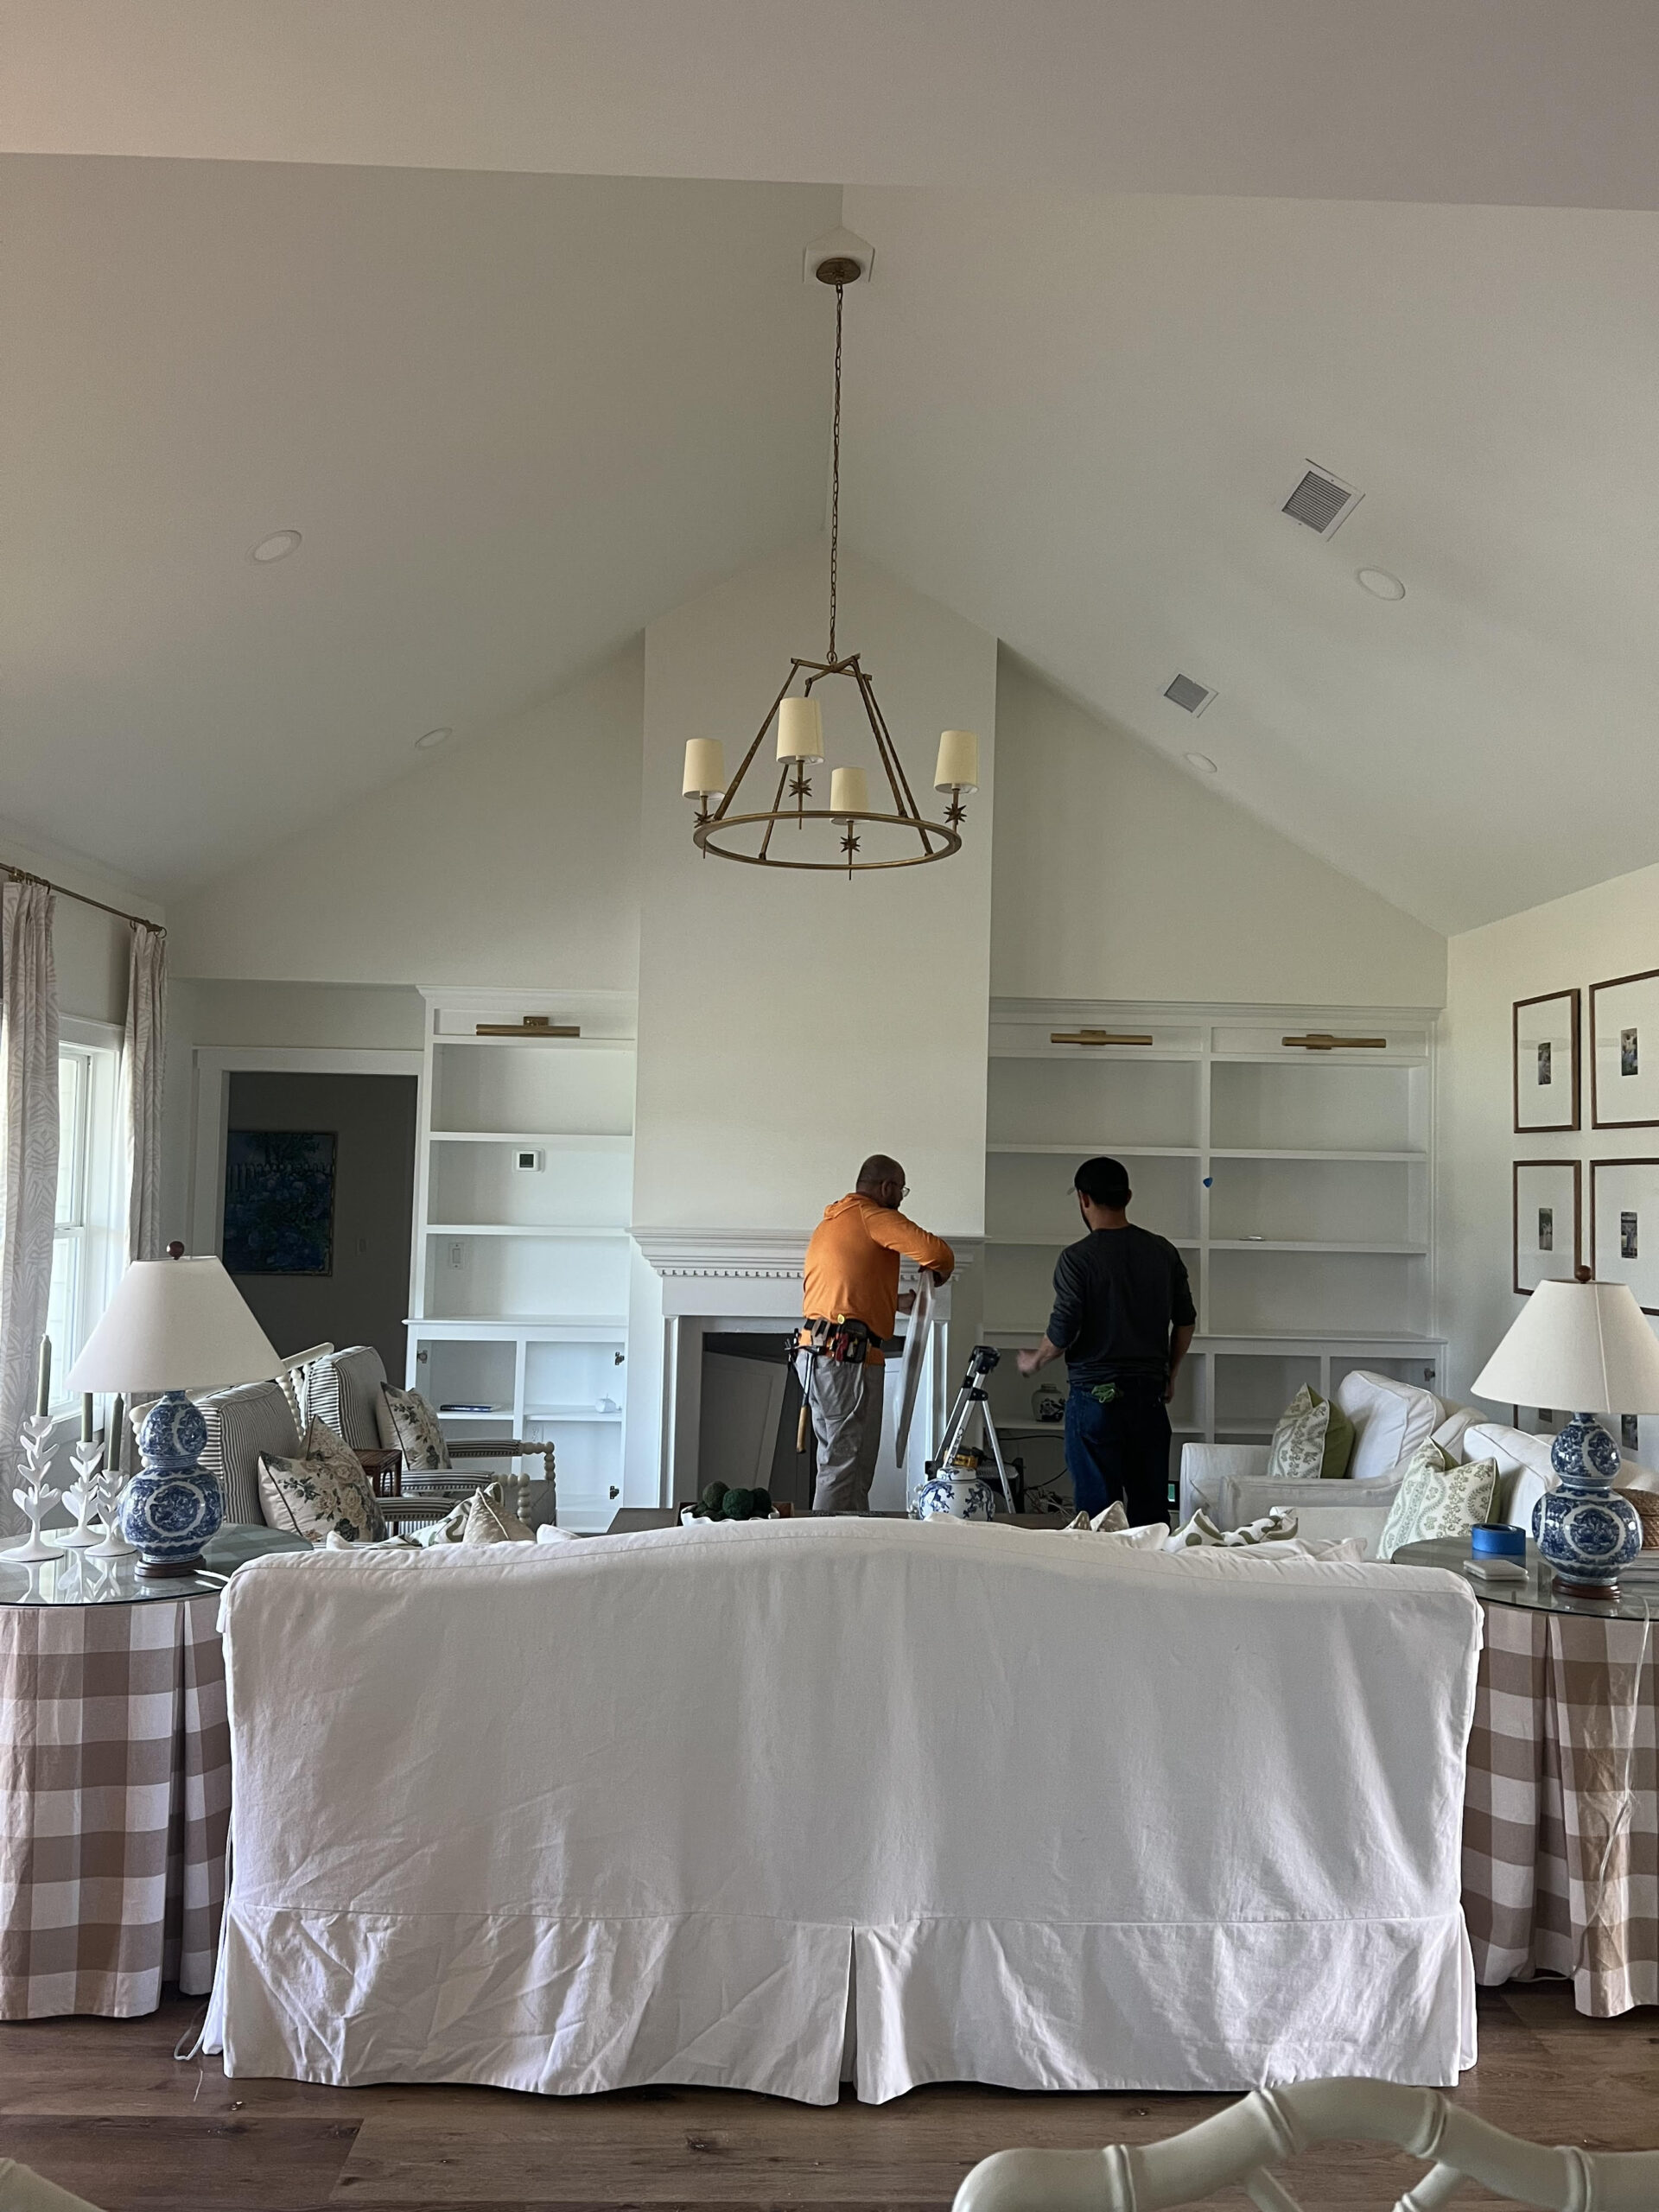
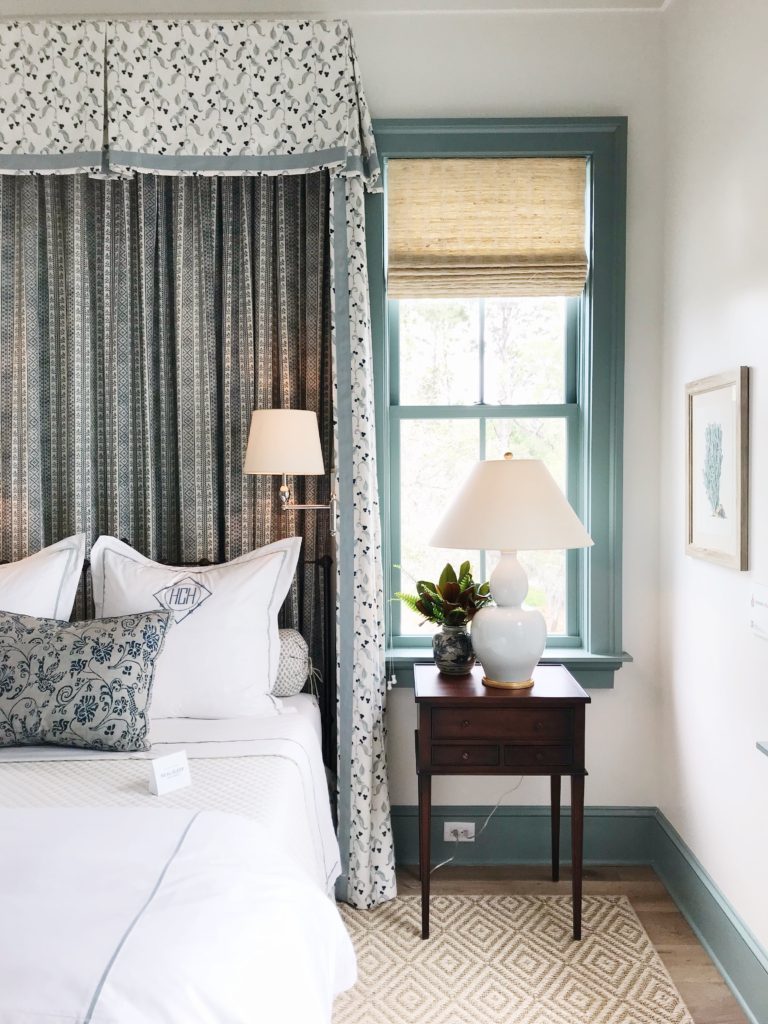
The biggest challenge when we first saw the home was that the living room had one giant wall in desperate need of some character, a focal point, and storage! We spent the first few months in our home drawing up ideas, scouring the internet and mapping things out with painters tape. One day I was scrolling Instagram and saw House of Harper’s living room. We too had to work around a walkway on the left side and a vaulted ceiling making it a bit more difficult to do anything symmetrical. My brain shuts down if I can’t get something symmetrical so seeing her photo was the inspiration we needed to get rolling!
I’ve had so many of you ask about the specifics of a project like this so I wanted to address some of the nitty gritty details that I think you’d find helpful!
Finding The Right Contractor
With a (subpar) notebook sketch and a folder of inspiration we interviewed three contractors and ended up getting bids from two of them. I knew immediately the first wouldn’t be a good fit based on the fact that I couldn’t imagine working with him and really didn’t want him to spend three months in my living room. The second seemed like he understood my vision but his quote came back much higher than we were willing to spend and we couldn’t get on the schedule for quite some time. The third was so kind, had a great price and could get us on his schedule quicker than anyone else. Sold! 😉 Quotes with a project like this can be all over the place so knowing what you’re expecting in terms of materials, timeframe and everything you’ll need the contractor to handle (electrical, cabinetry, paint, drywall, electric fireplace install (made to look like a wood-burning), etc!) ahead of time will help ensure everyone’s on the same page. Ask all the questions and be sure to request a labor + materials itemized bid!
Timeline & Cost
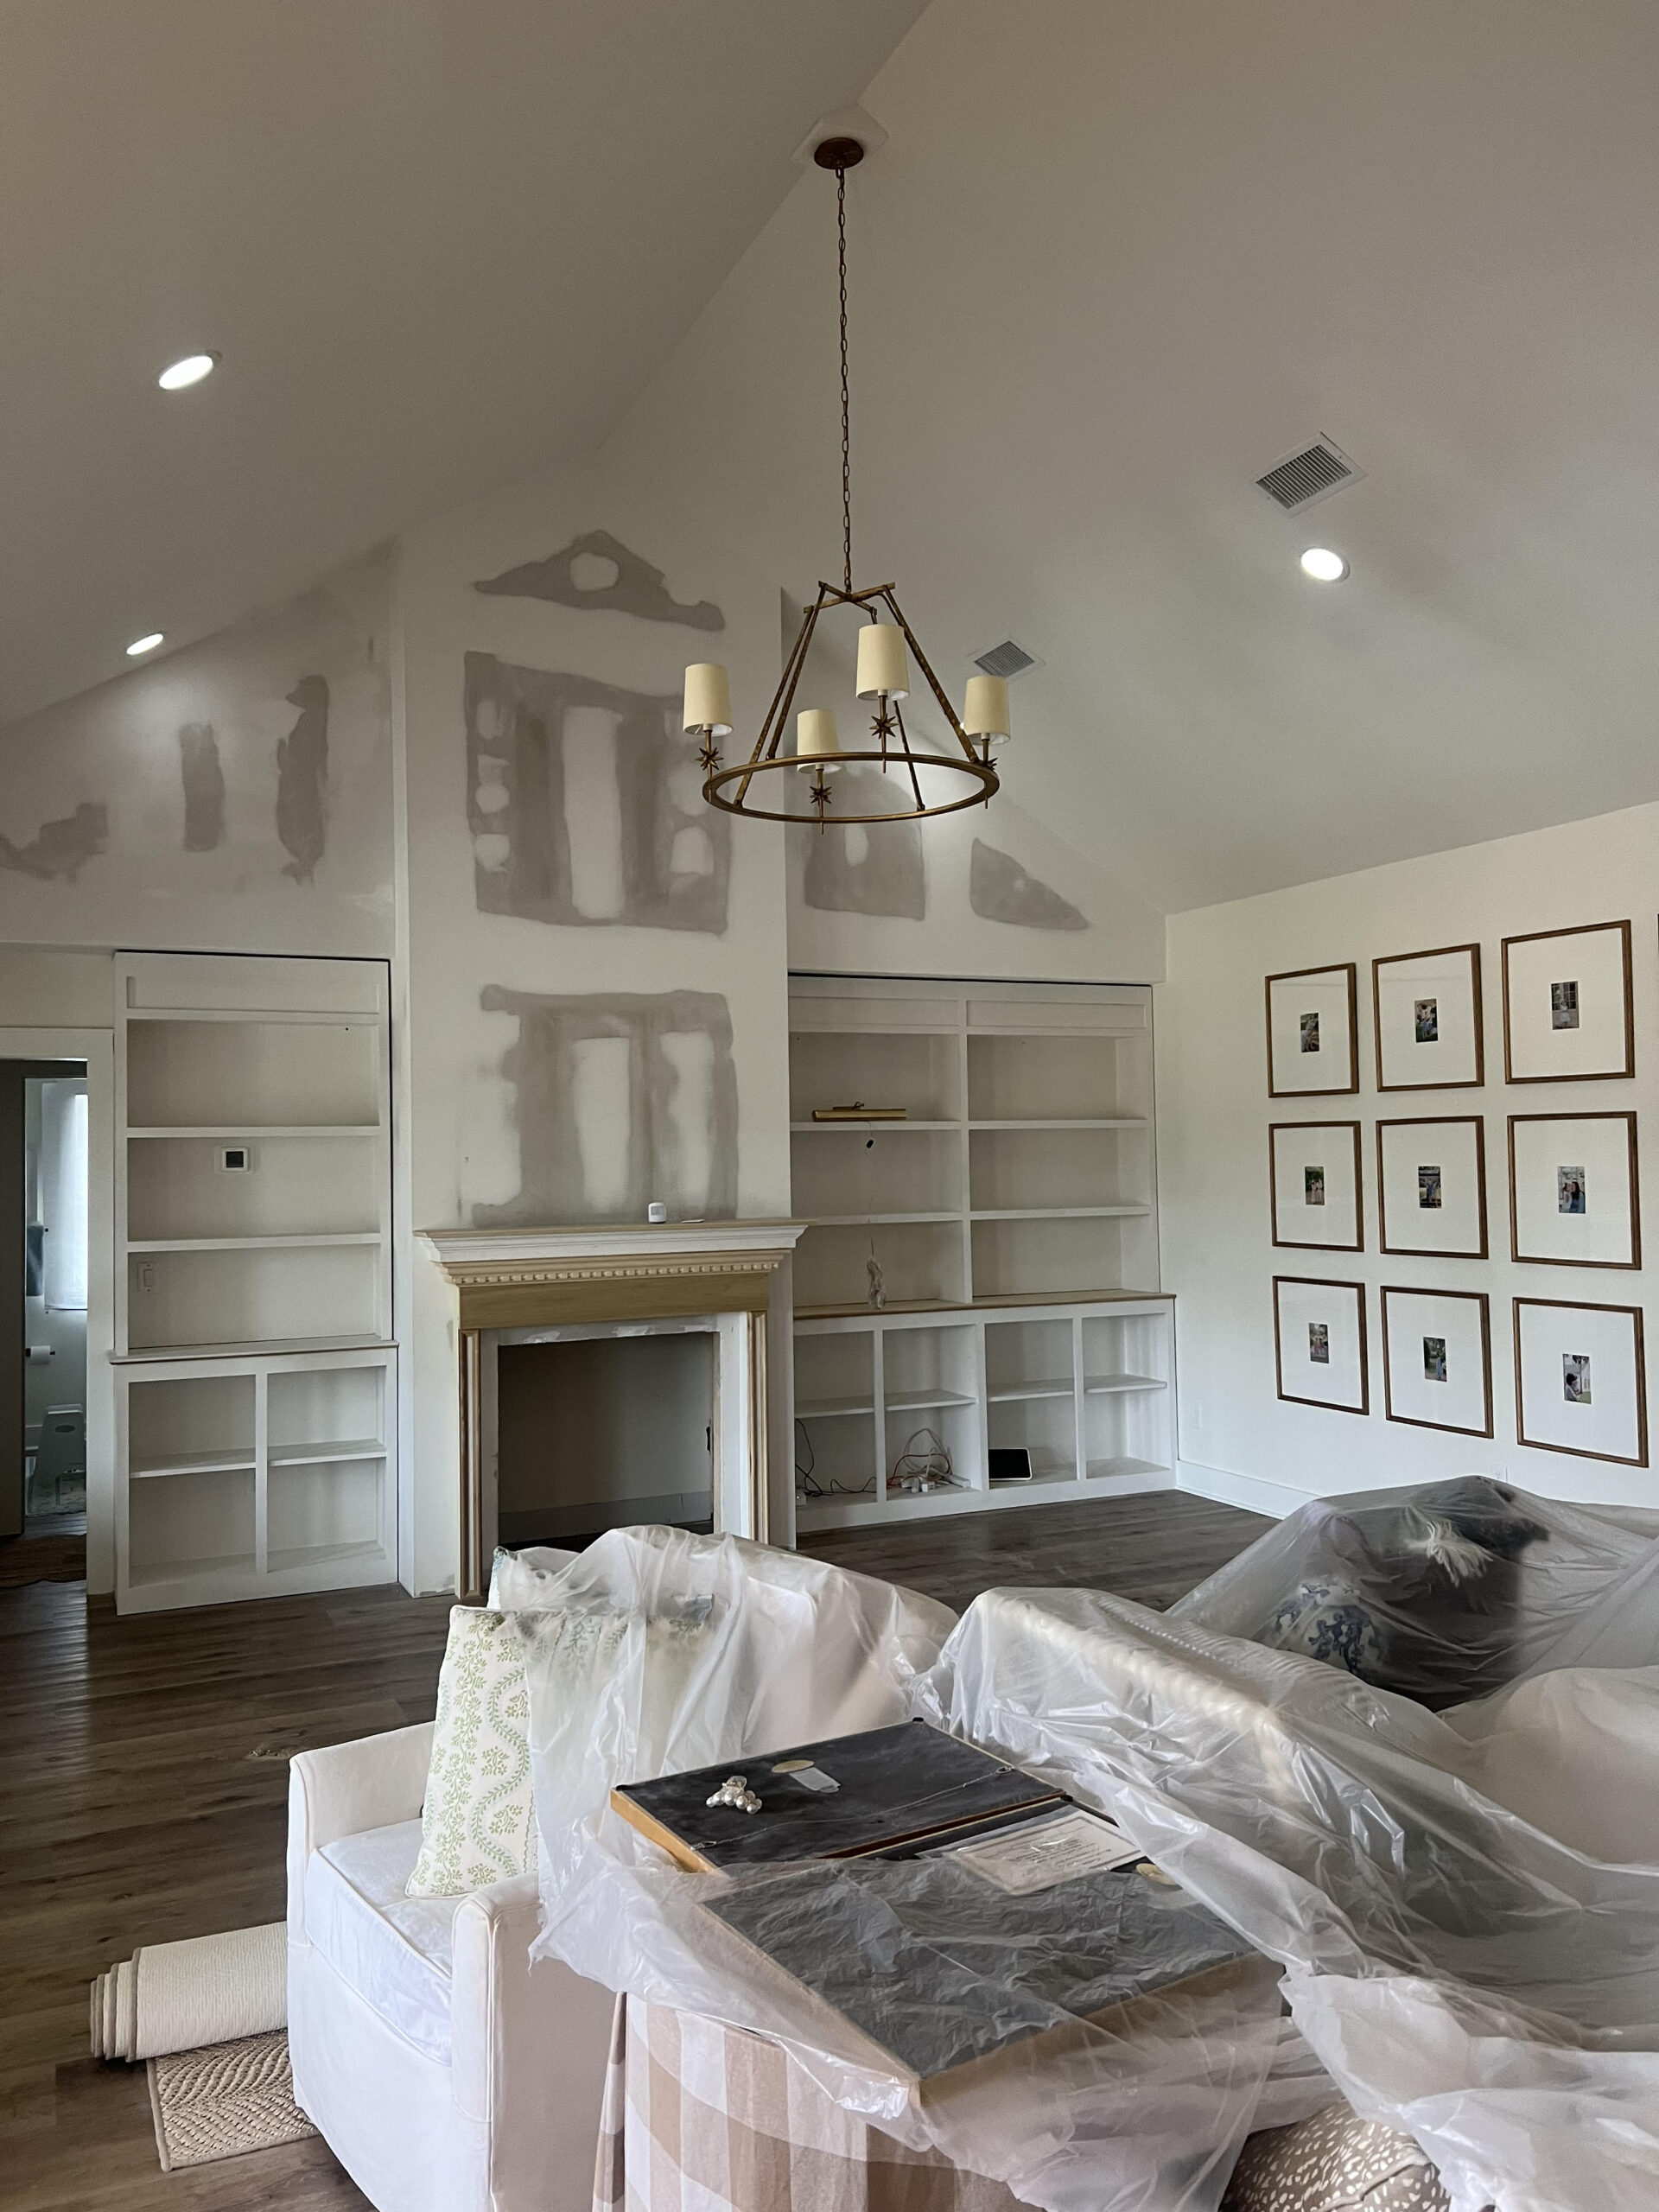
I’ve had lots of comments hoping for a cost breakdown (which I totally get!!!) but it’s going to very wildly depending on where you live, materials, your space, timeline, etc. Our project included custom cabinetry, painting, lots of drywall work, trim carpentry because we were starting from scratch with a big blank wall. Happy to get more specific if you’d like to email me! It wasn’t cheap but it feels like a fantastic investment for resale purposes based on how much it transformed the main area of our home. Pearce (my handy husband) actually did our fireplace tilework (I helped a bit too!) as the contractor did not have a sub available to help and we weren’t willing to wait any longer. Didn’t think we could learn to lay brick and tile with youtube videos…. but we did!
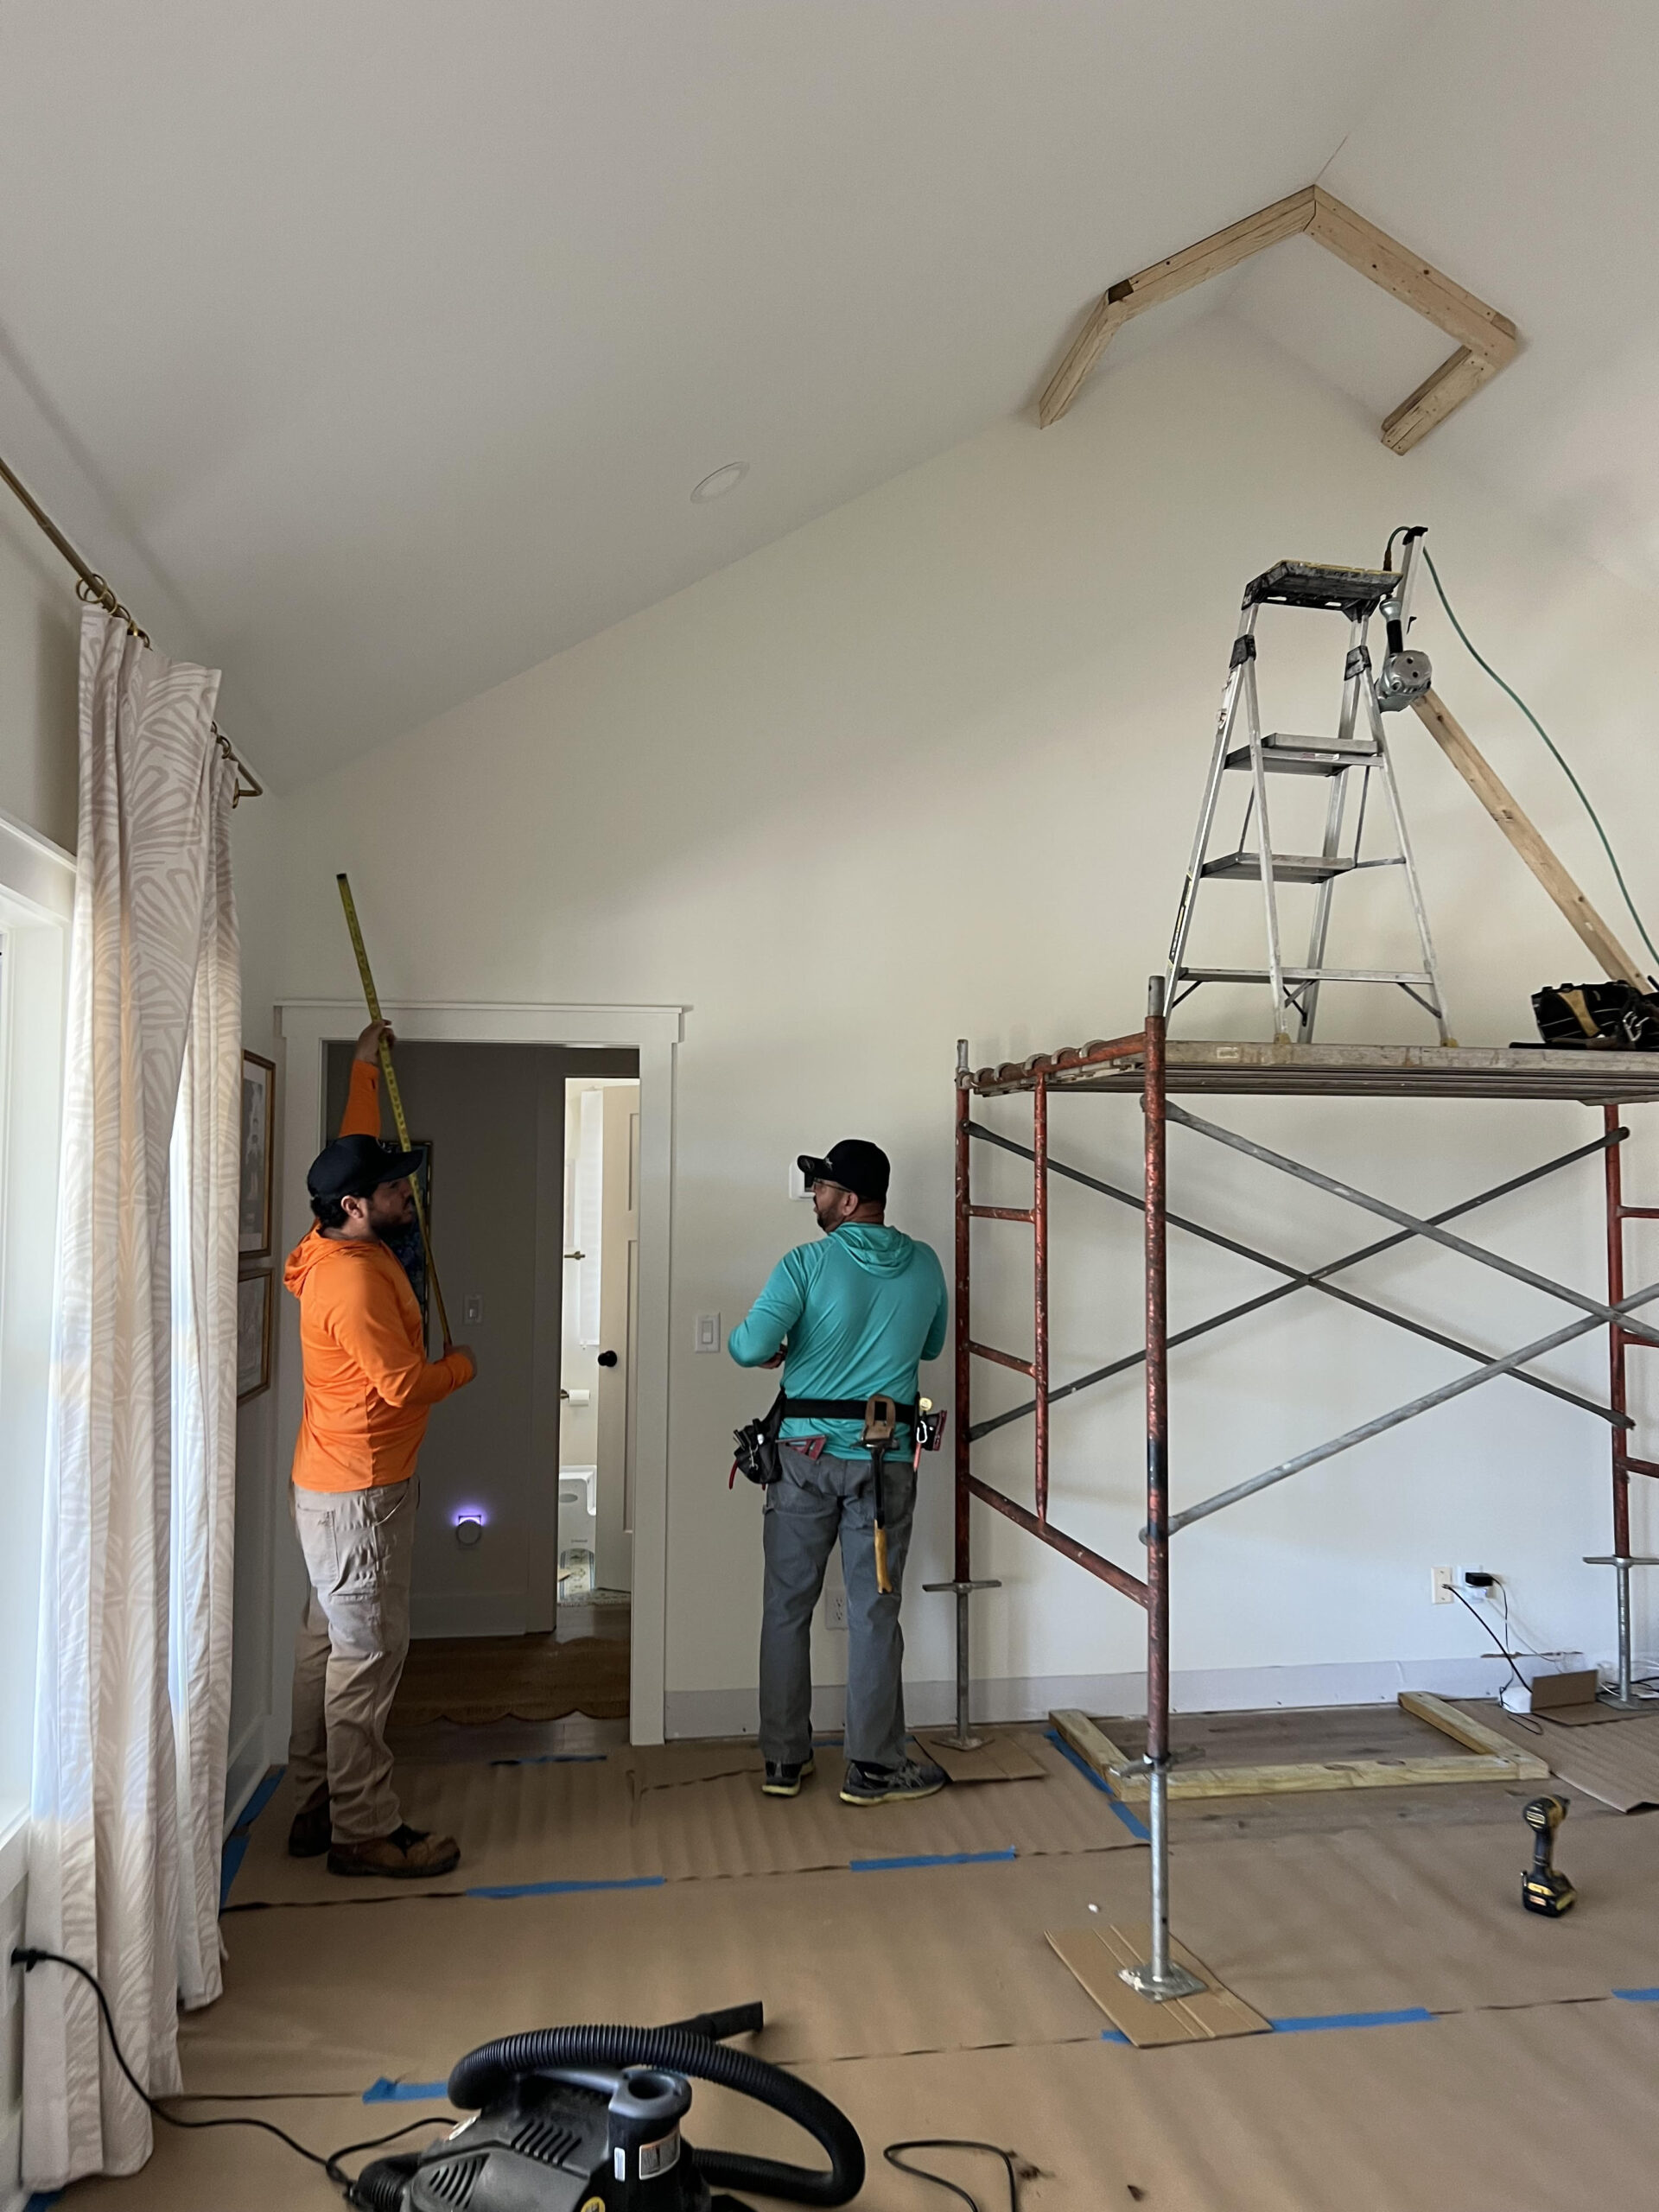
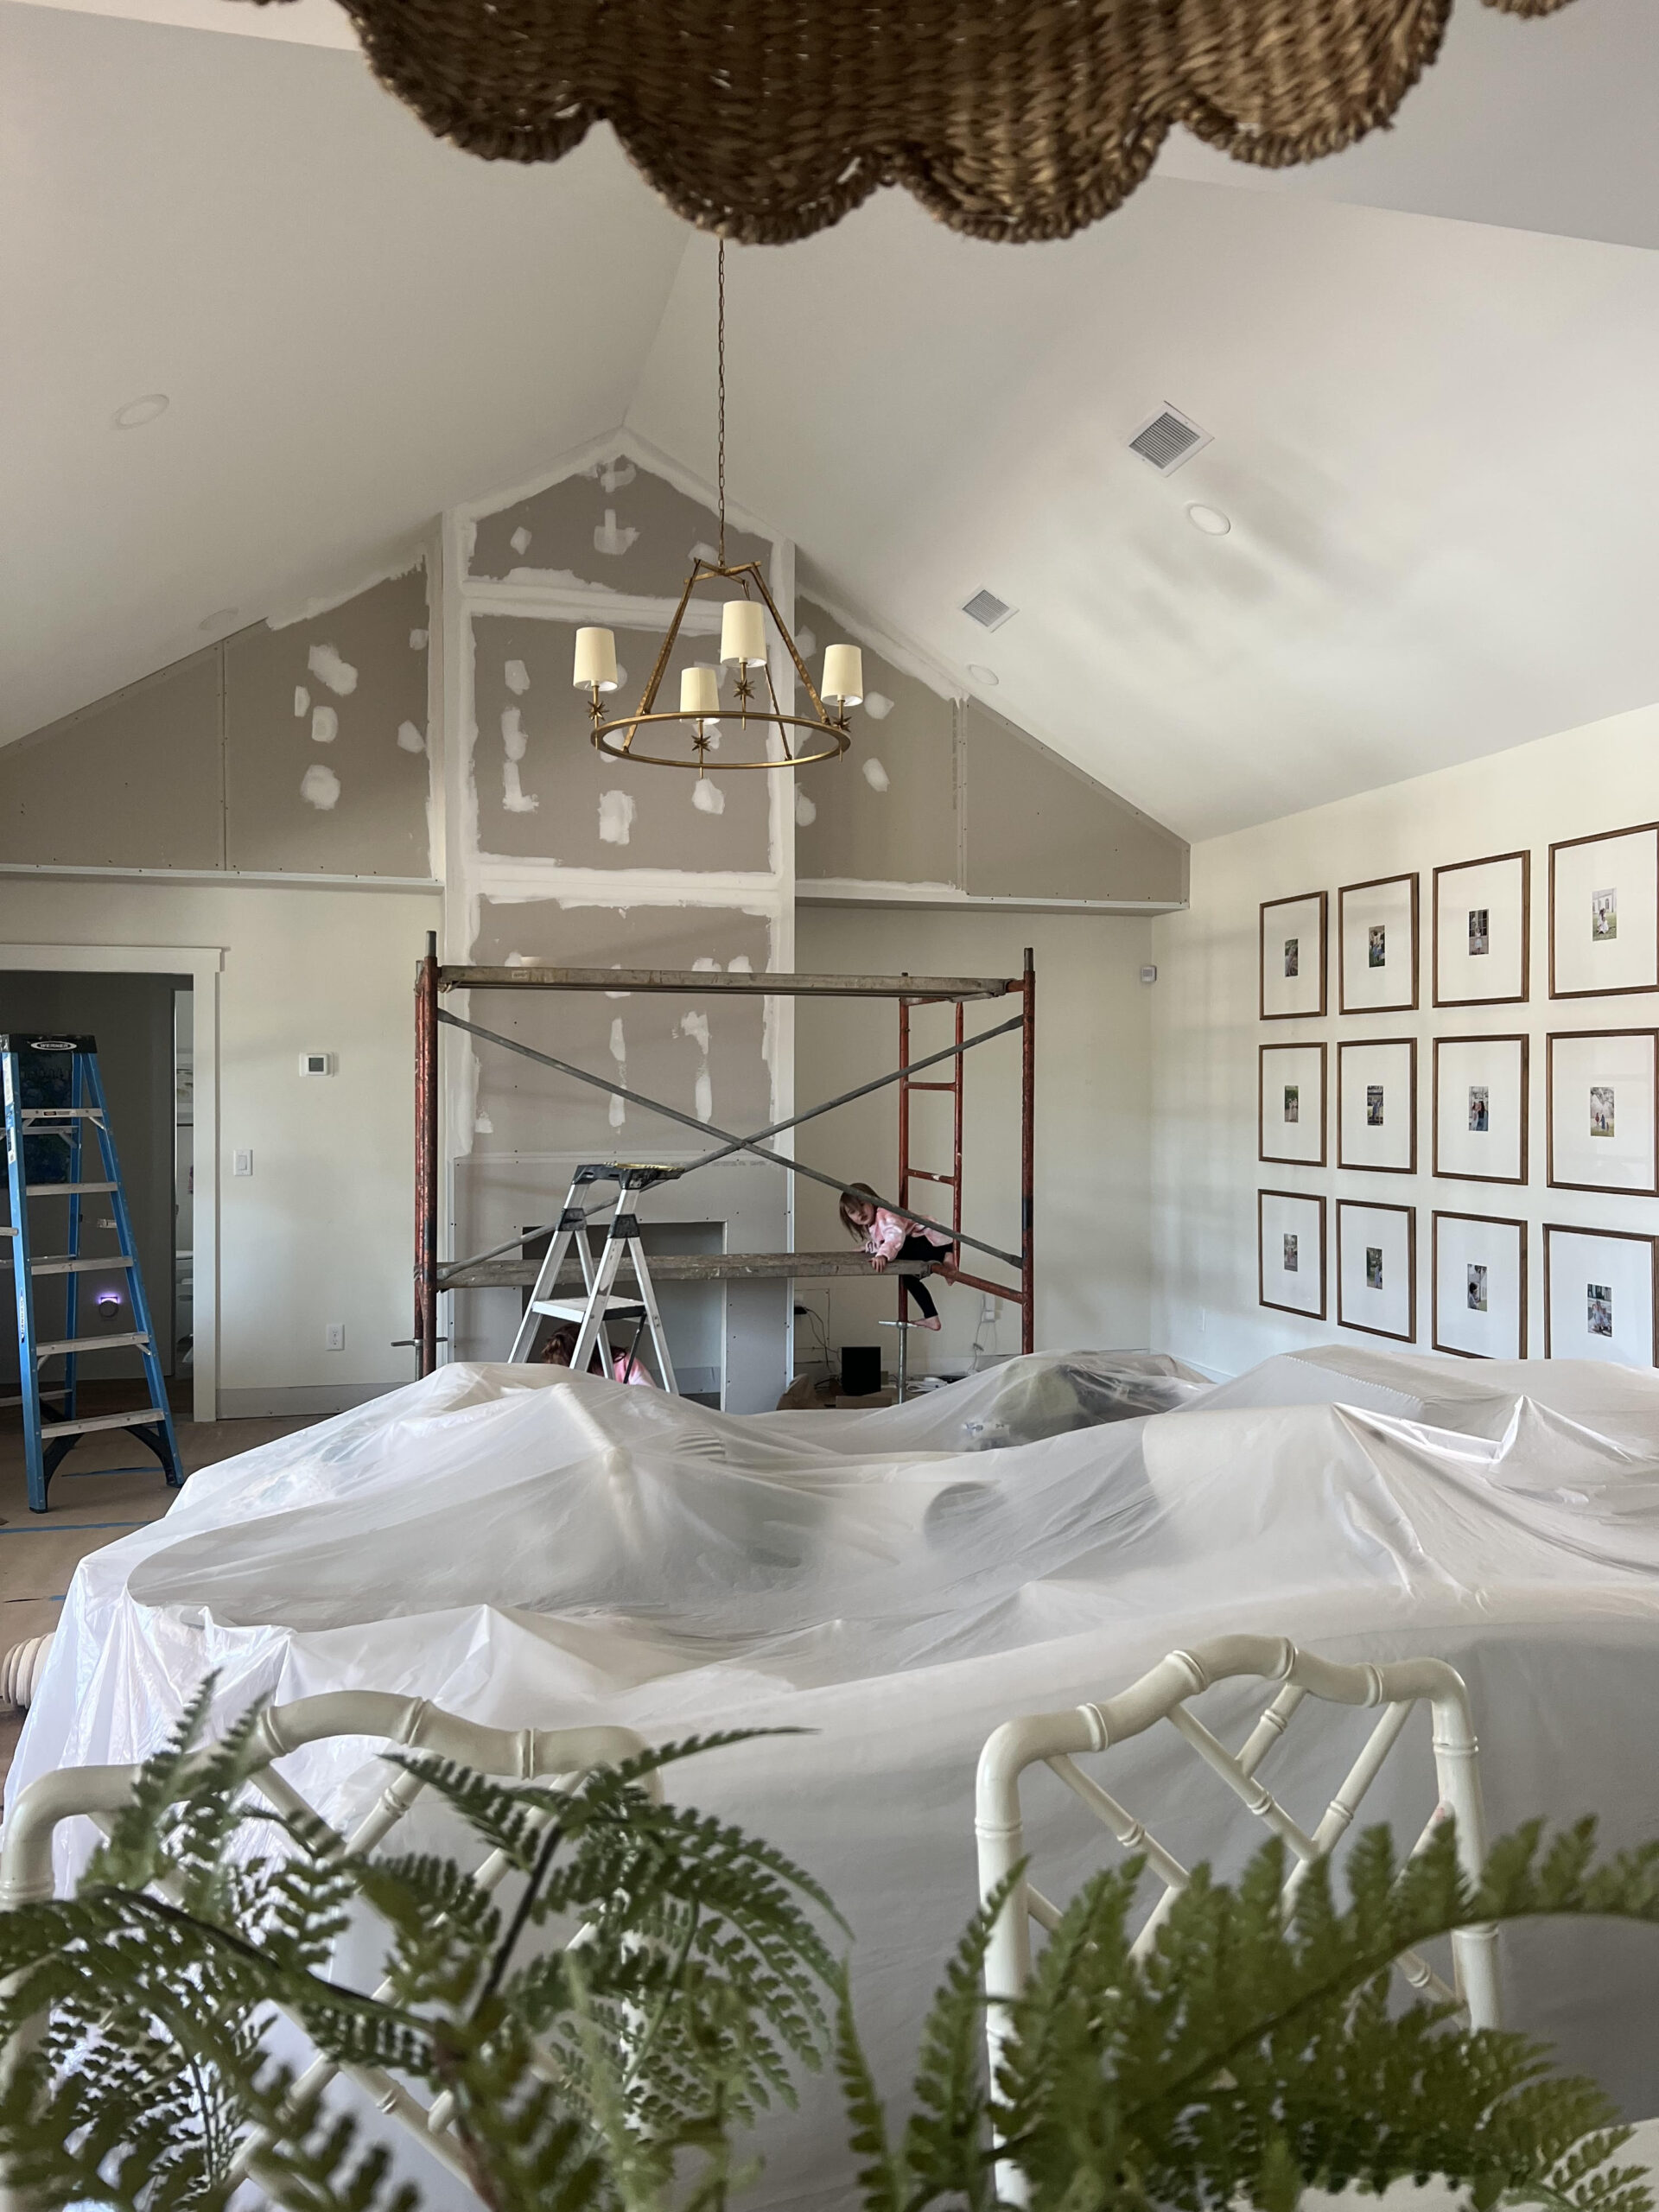
We hoped the project would take two weeks (ha!) but it ended up taking closer to five or six. Over a month of contractors here almost everyday working inside the house or in the garage. We cleared out the furniture so they could bring in scaffolding. We lived with taped off rooms for a few weeks of the project and got used to skipping naps due to loud power tools. A little chaotic but we were expecting that. This would be a great project to tackle before you move in or while you’re on an extended vacation! 😉 Thankfully the team was tidy and considerate throughout the process! We were so appreciative after a bad experience with our kitchen refresh. Of course, so thankful we were able to do it and was happy to put up with the inconveniences to make it happen.
Details & Selections
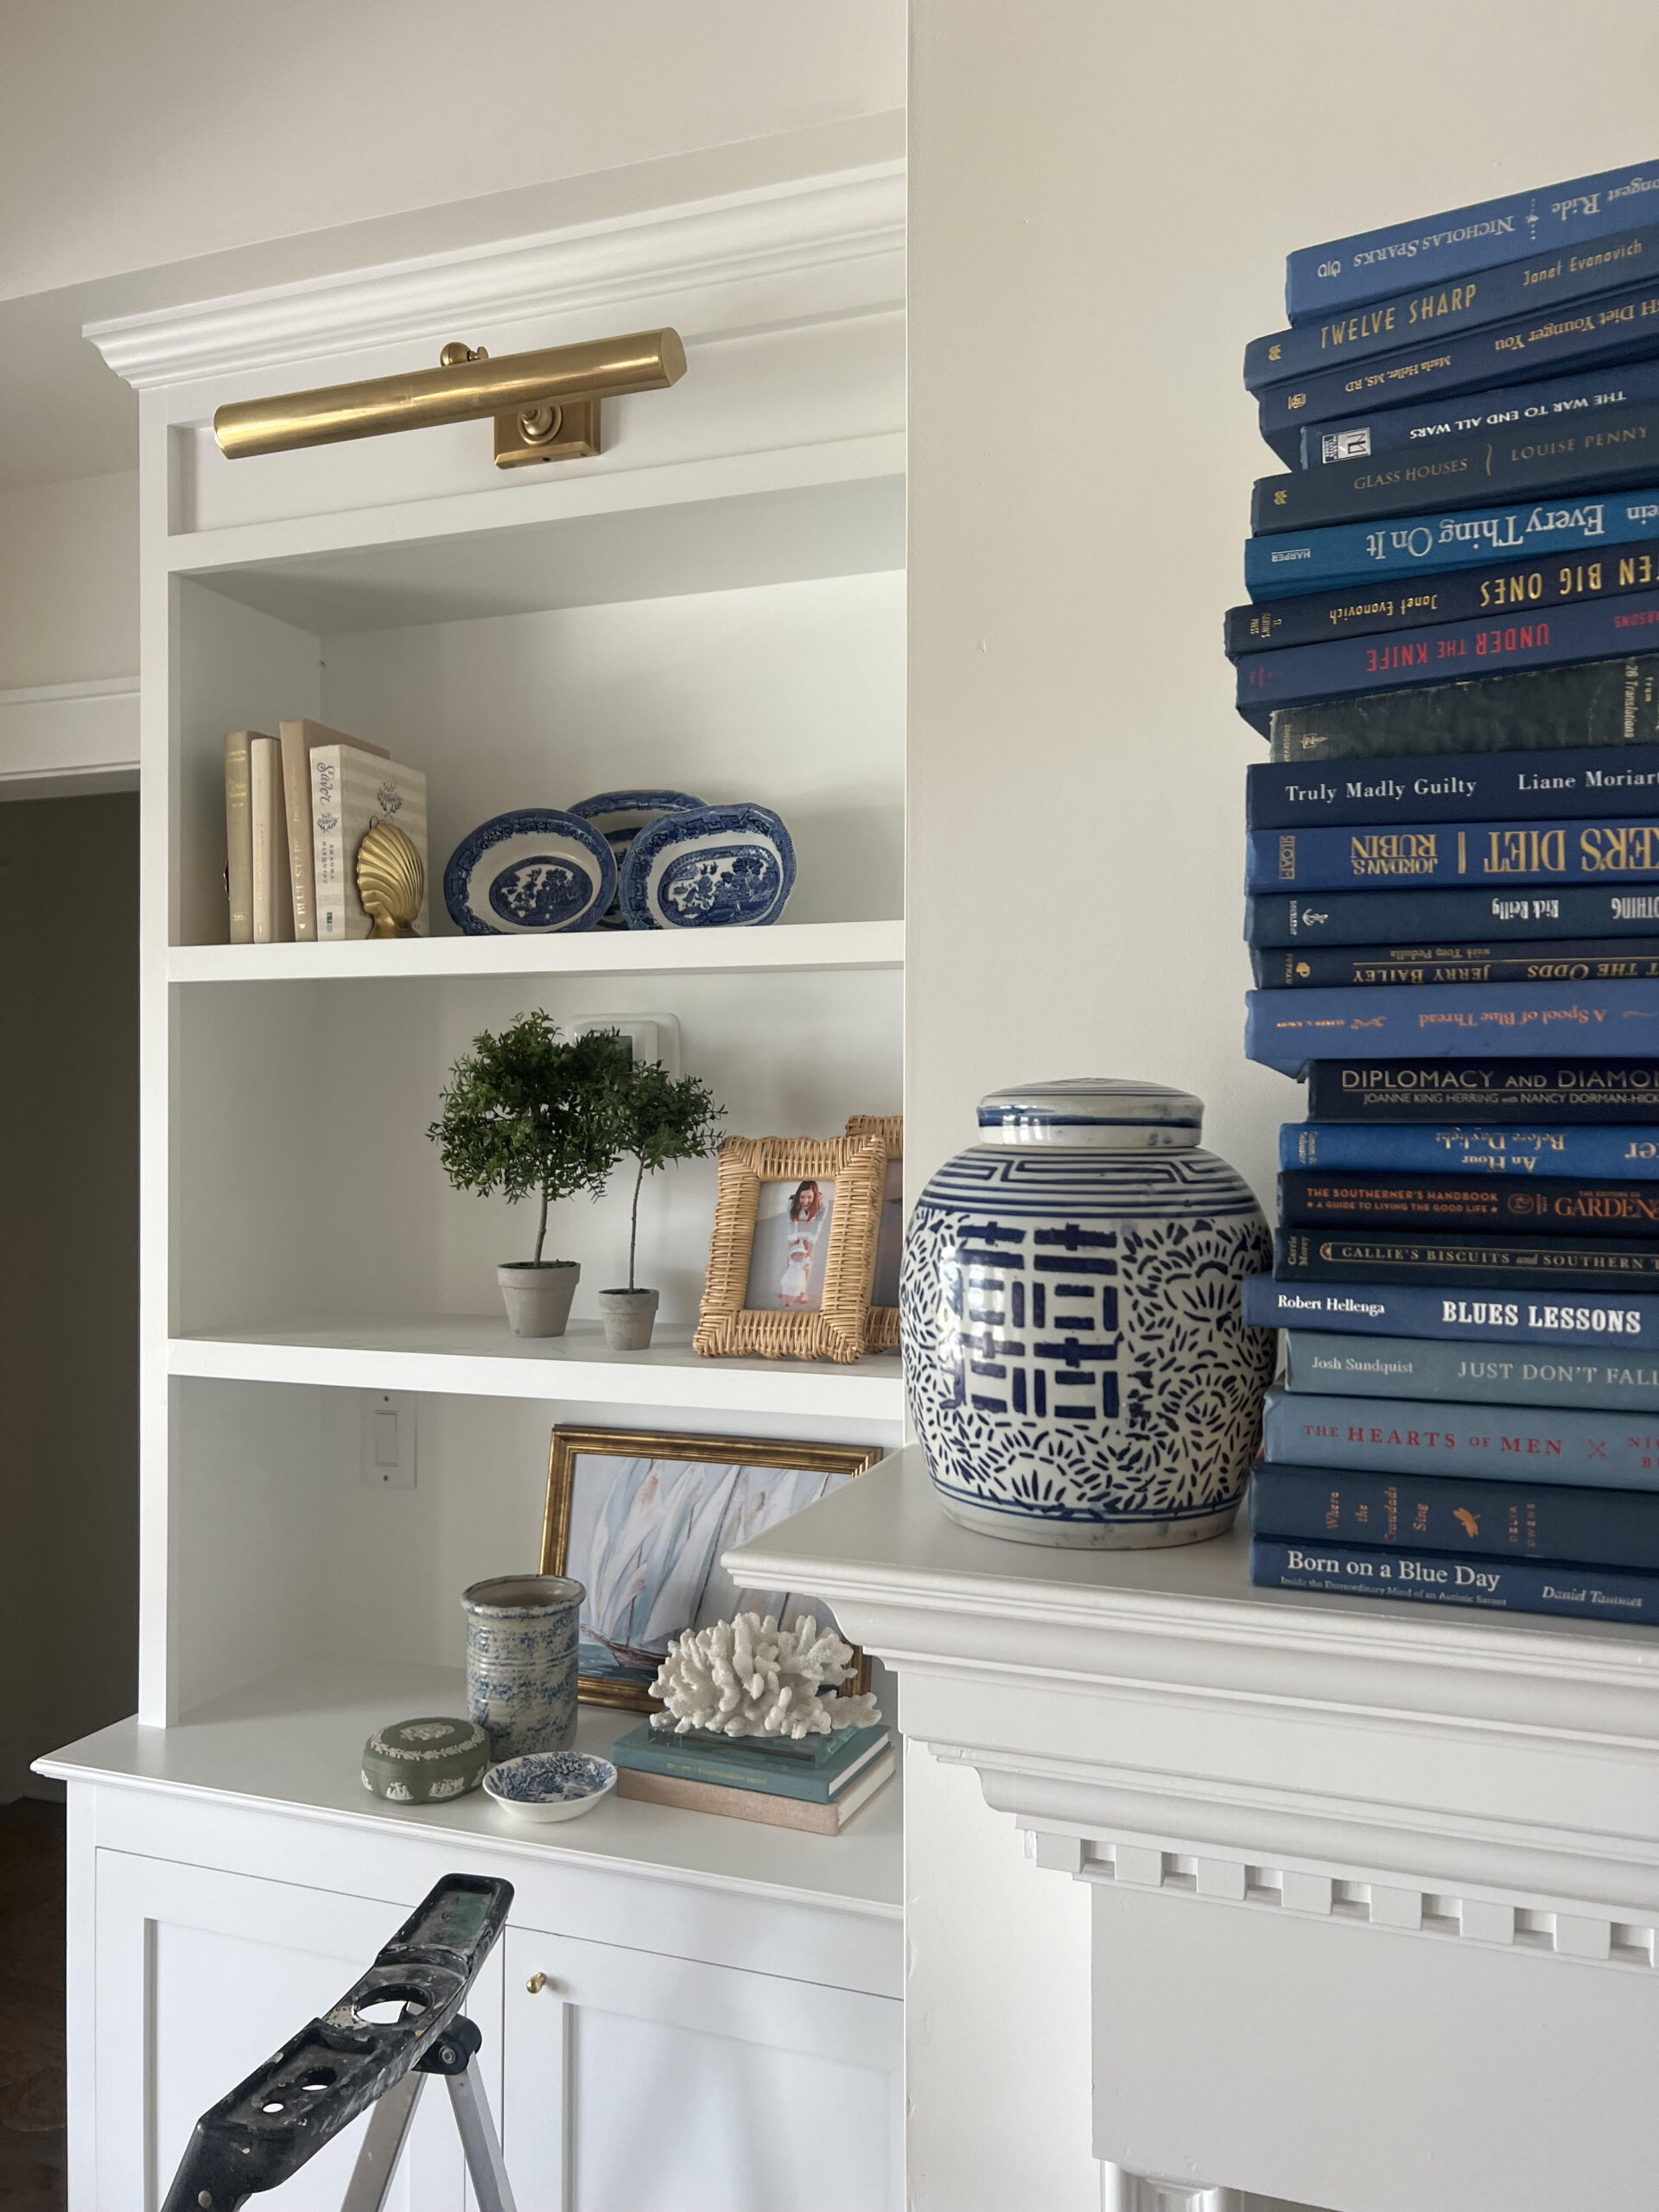
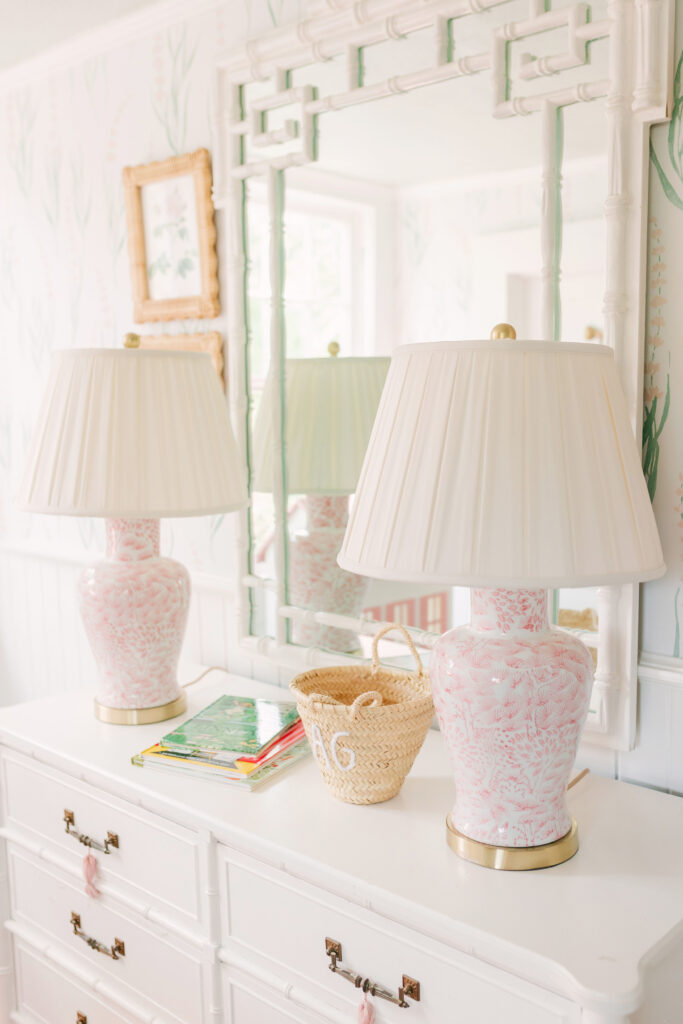
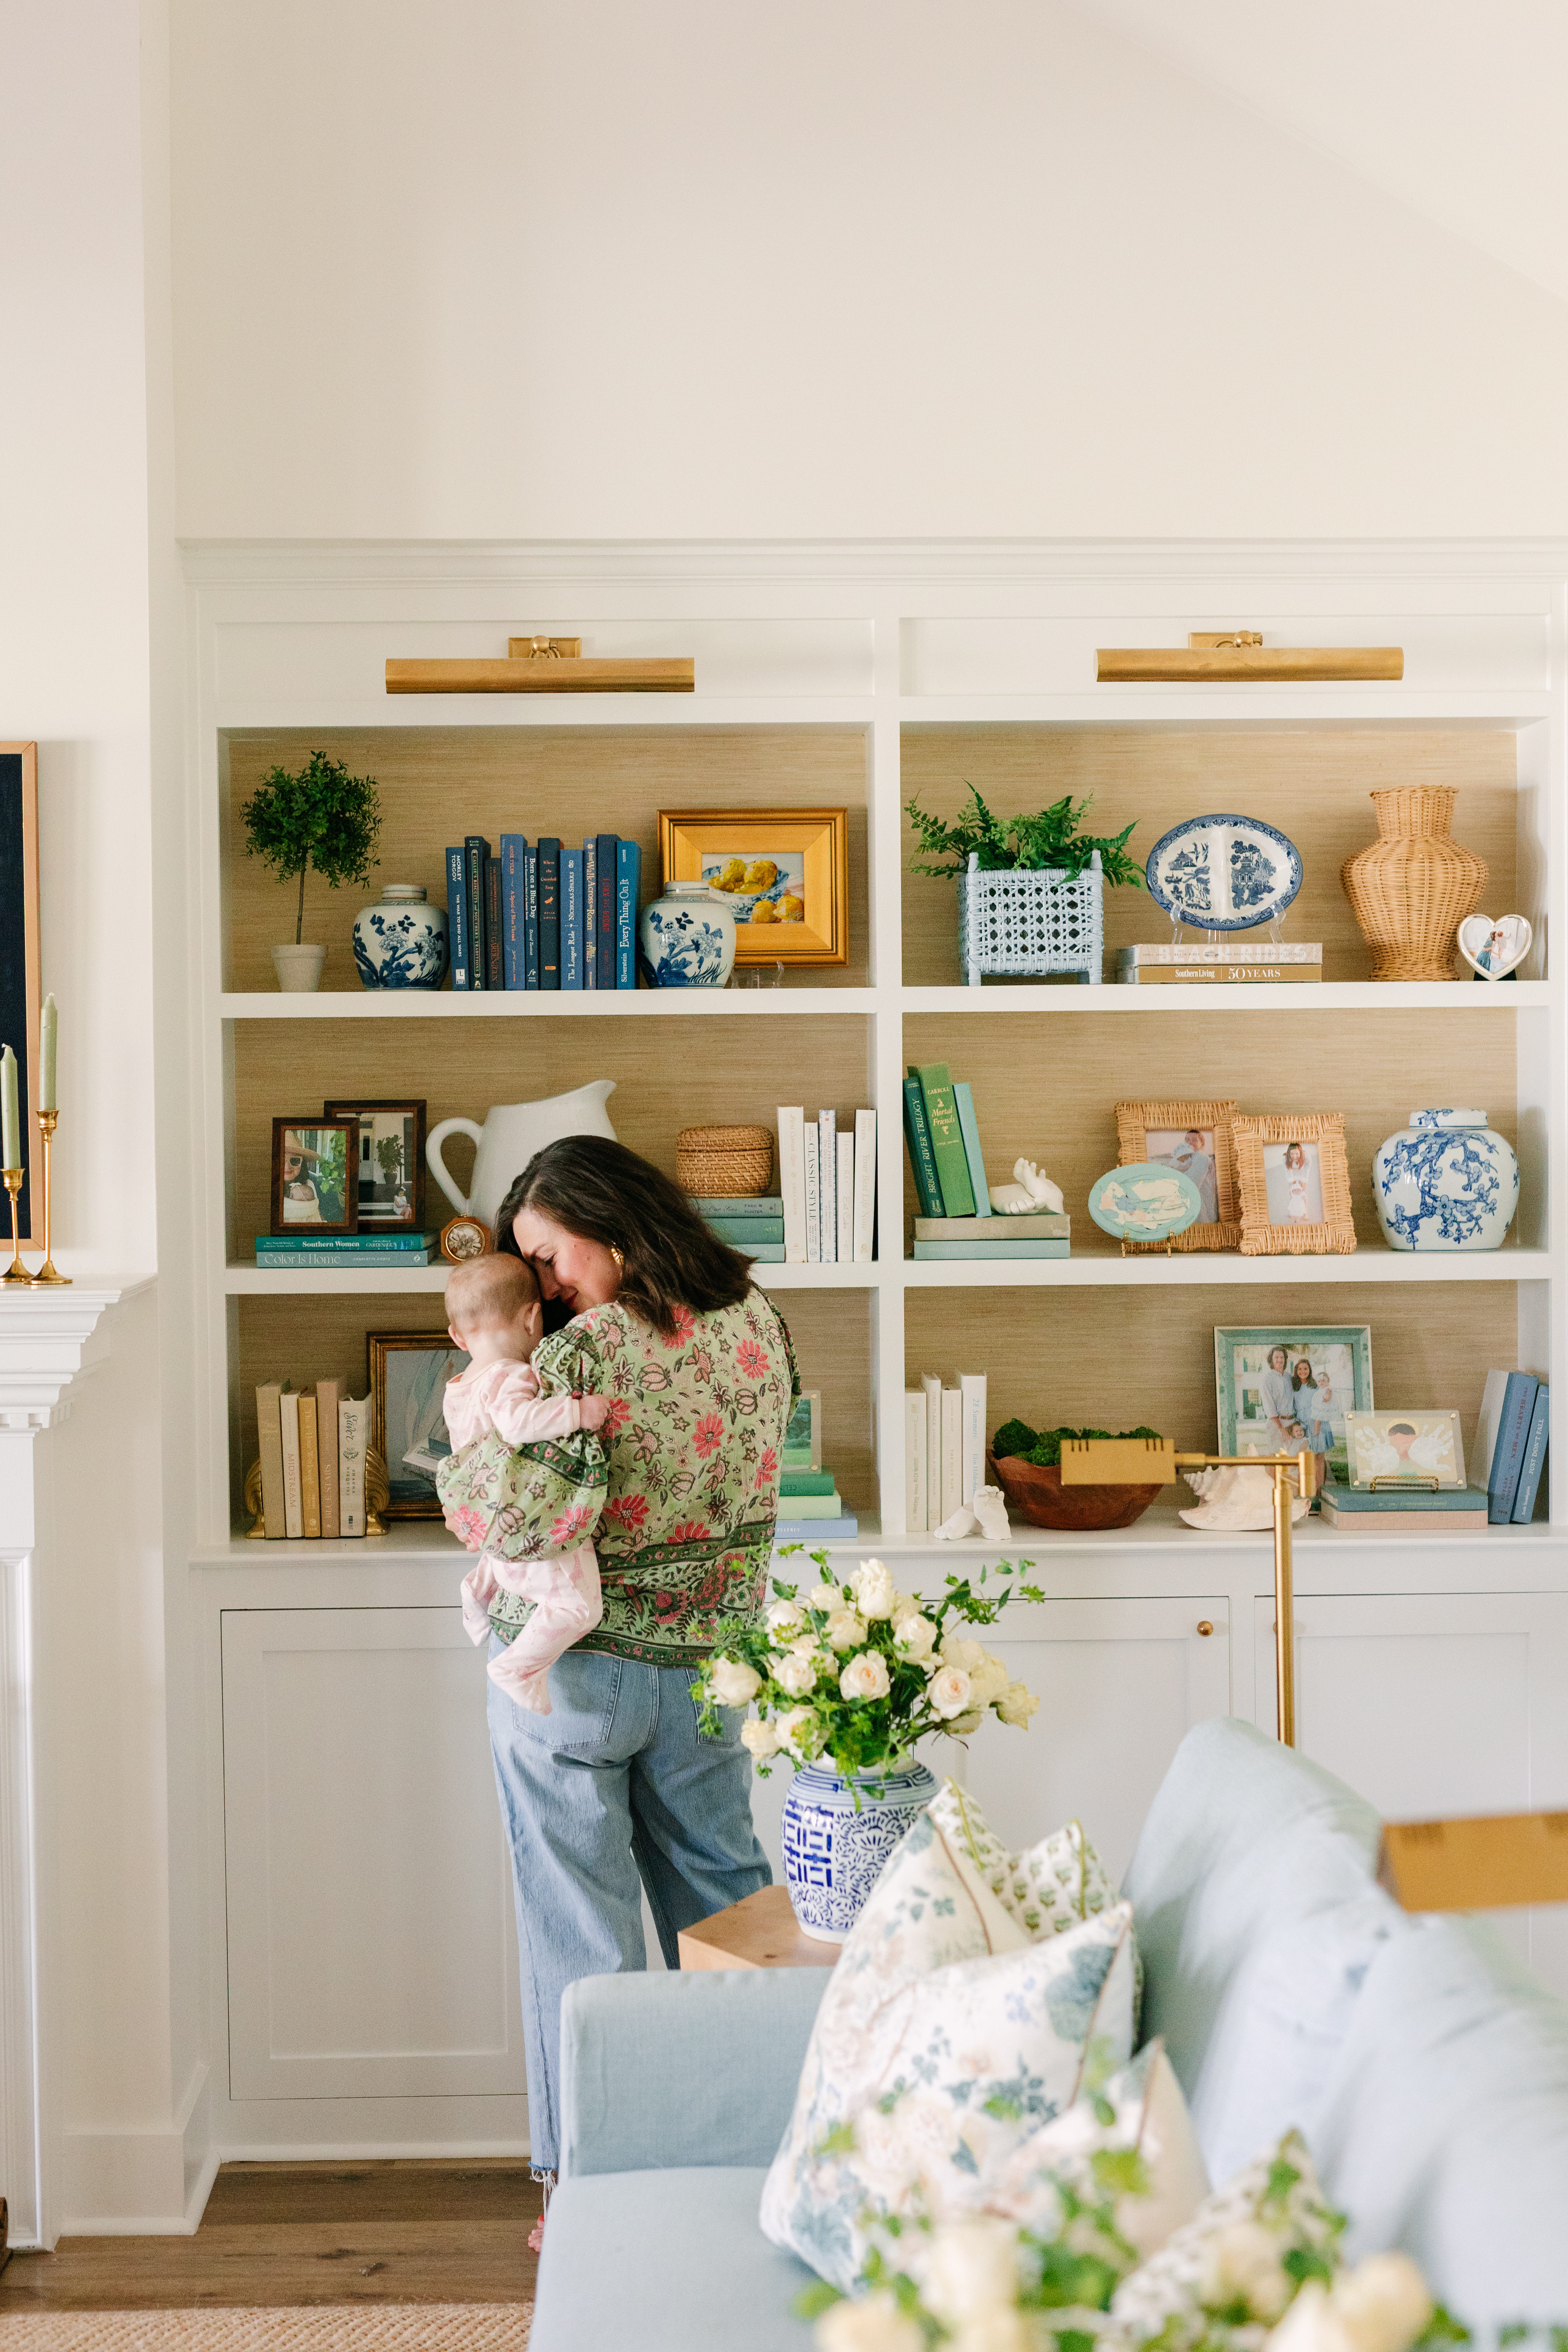
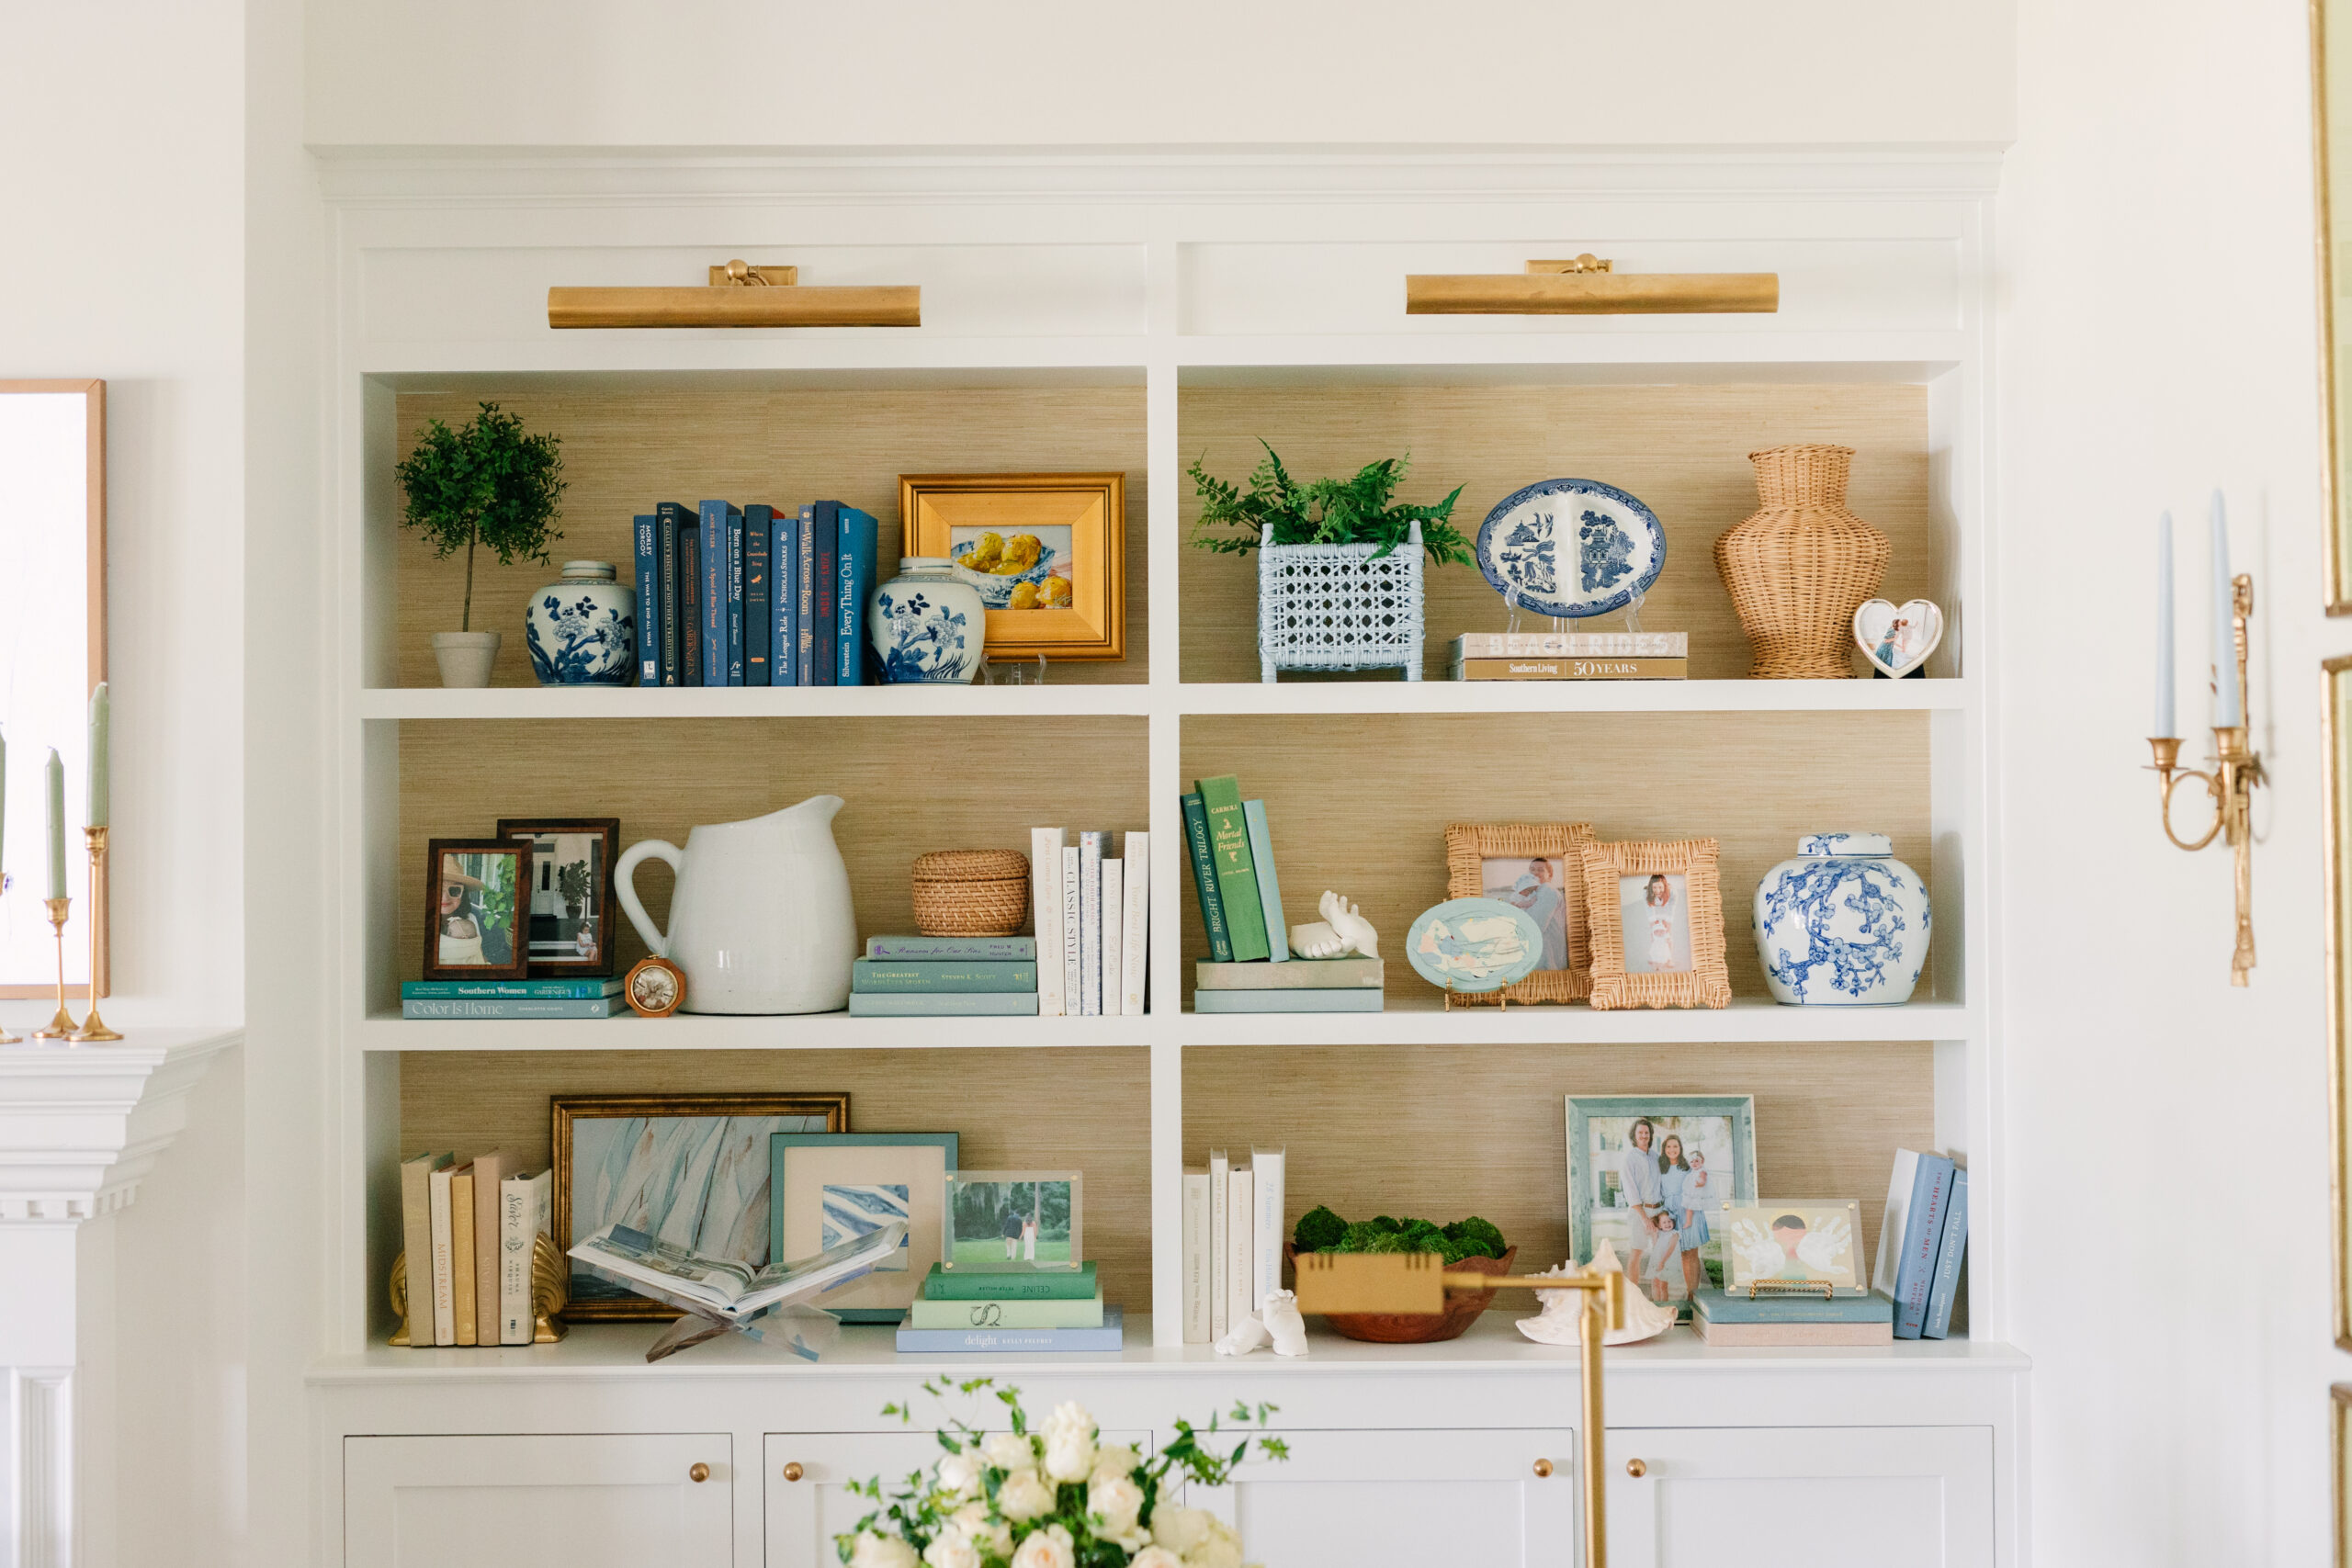
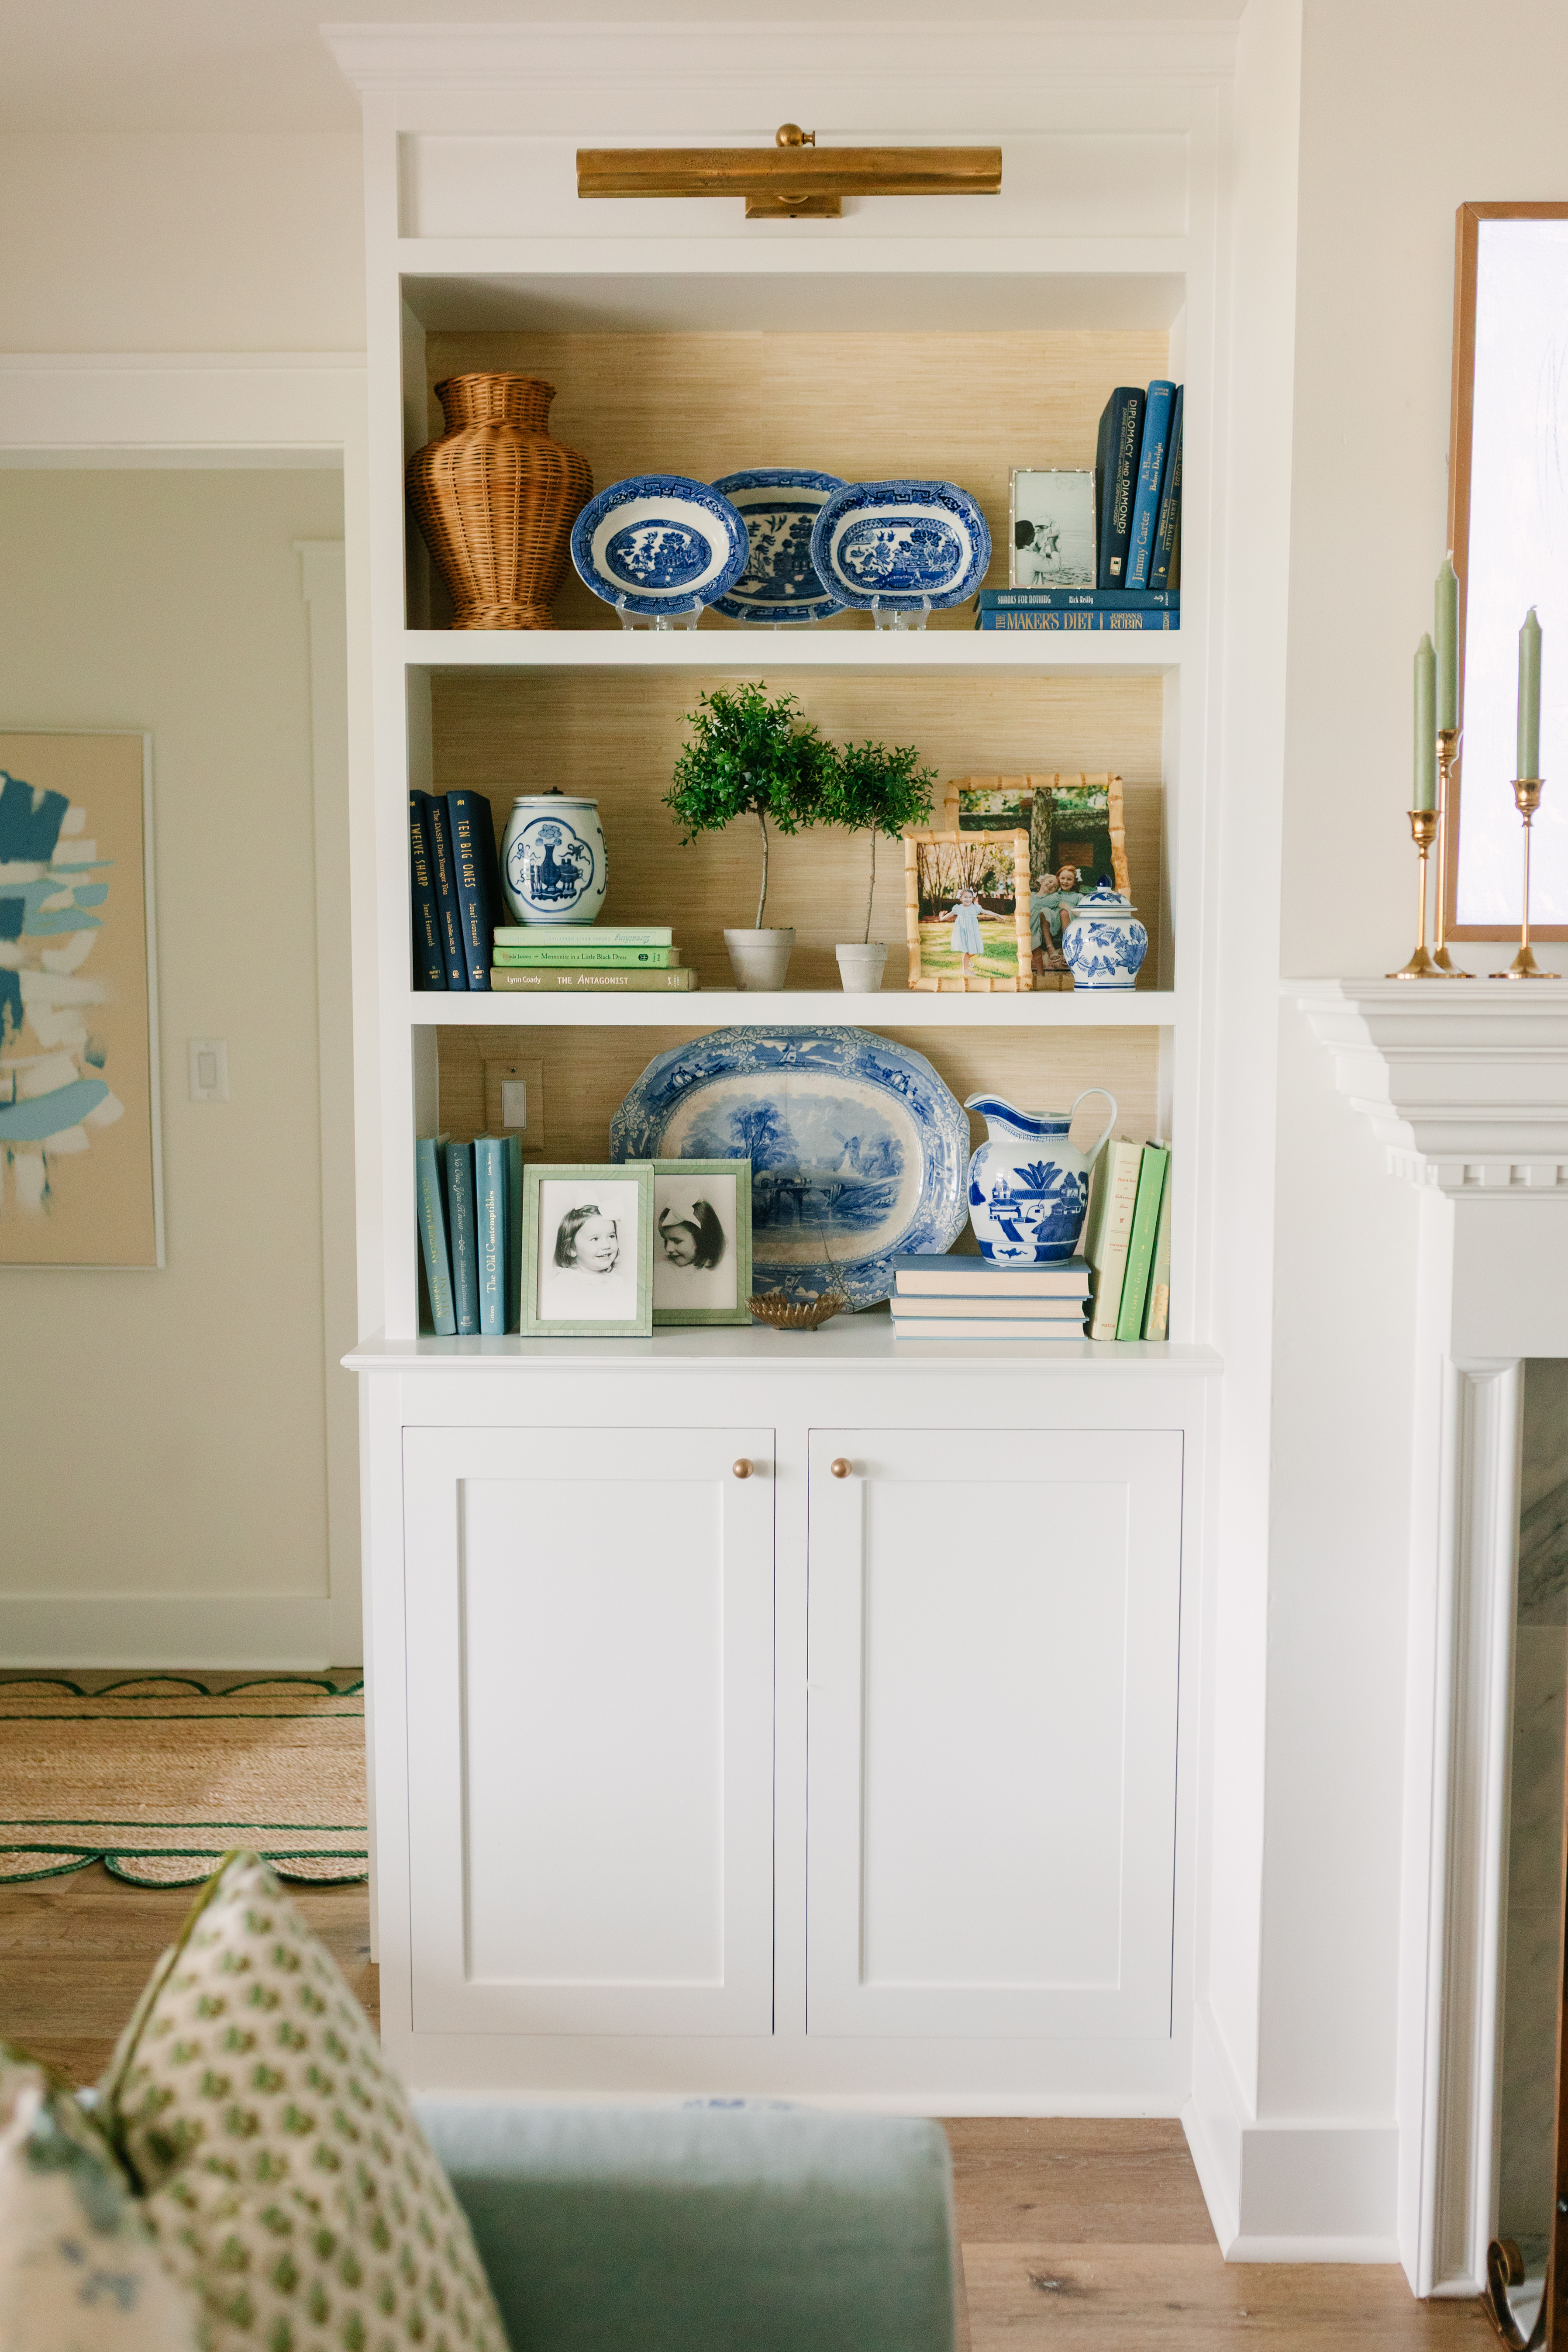
Shelf Size: I knew I wanted to display some larger vases and pieces of art so we opted for three taller shelves that are about 16″ apart. Toyed with 4-5 shelves but so glad we landed here! Now I can feature larger items, not just short trinkets and books. Makes the space feel larger!
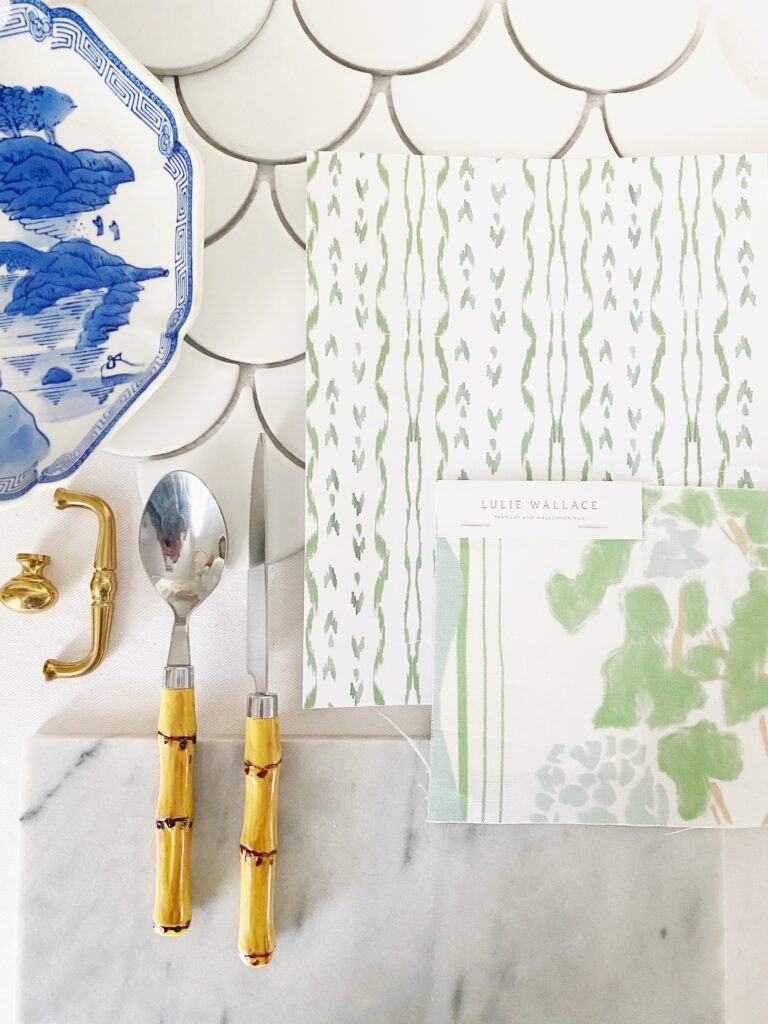
Wallpaper: Installed by yours truly! I’ve used this paper so many times and find it easy peasy to install!
Lighting: Used these in our last house and loved them so much we featured them in this space as well. The finish is antique brass!
Knobs: Toyed with a few different sizes and landed here. Thee are the same knobs we used in our kitchen just a smaller size! So dainty and pretty.
Wild to think that this is where we started! Wanted to share some evolution photos so you could see the progress.